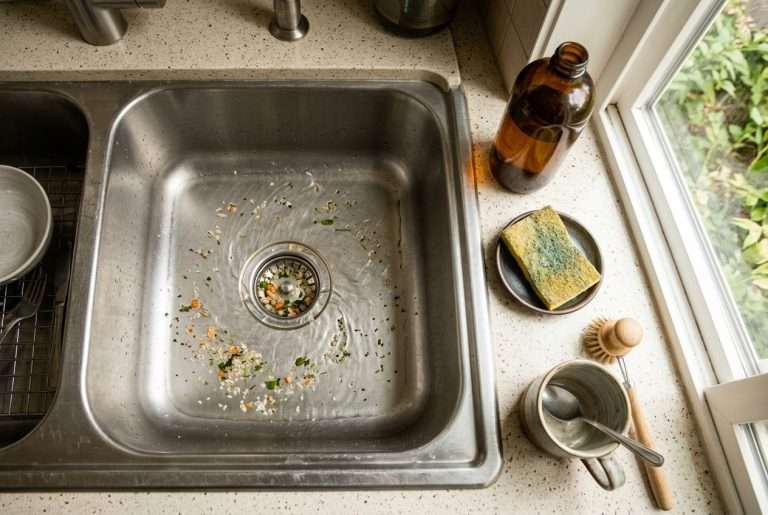
As a homeowner, discovering a leaky faucet can be frustrating. Besides the annoyance of sound and water wastage, it can also lead to costly repairs if left unaddressed.
However, with just a few simple steps, you can fix most leaky faucets yourself! In this blog post, we’ll provide helpful tips to repair those irritating drips, ensuring your home runs smoothly again in no time.
So whether it’s a dripping kitchen tap or a pesky bathroom sink, follow our instructions and prepare for one less headache at home!
Identify the Problem – Loose Nut or Broken Valve Seat?
Pinpointing the root cause of a leaky faucet is crucial. It may be a simple fix like a loose nut or a more serious issue like a broken valve seat. Identifying the problem correctly ensures you take the appropriate steps to address it.
At Western Rooter & Plumbing, our team is here to help you troubleshoot and determine the best solution, minimizing downtime and getting you back up and running quickly.
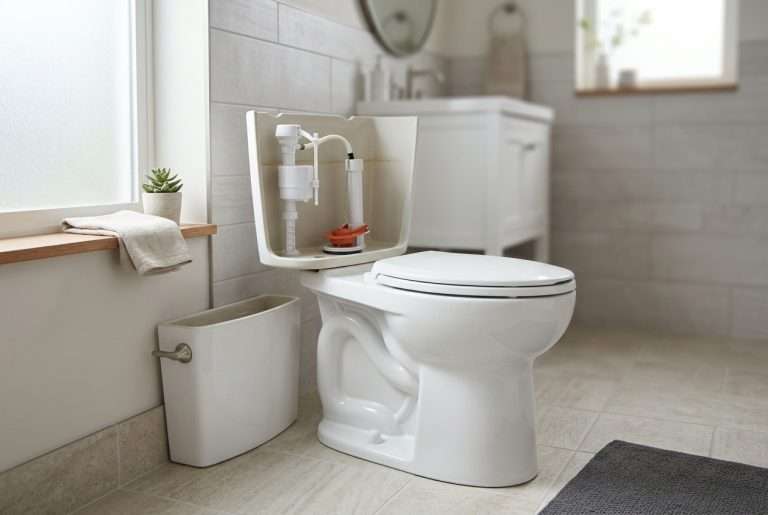
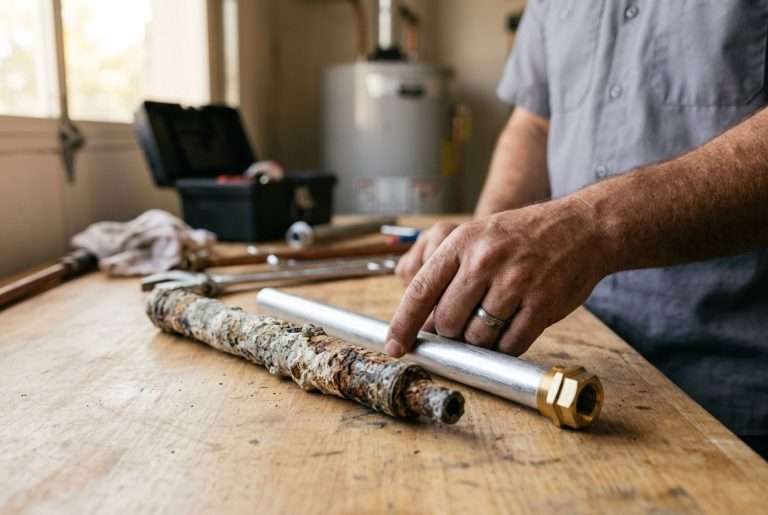
Gather Your Supplies – Screwdrivers, Pliers, Wrench, and Replacement Parts
Having the right tools and supplies is essential for small repairs and maintenance tasks. Stock up on screwdrivers, pliers, wrenches, and replacement parts to be prepared for any task that comes your way. By making sure you have the right items on hand, you can tackle any project with confidence.
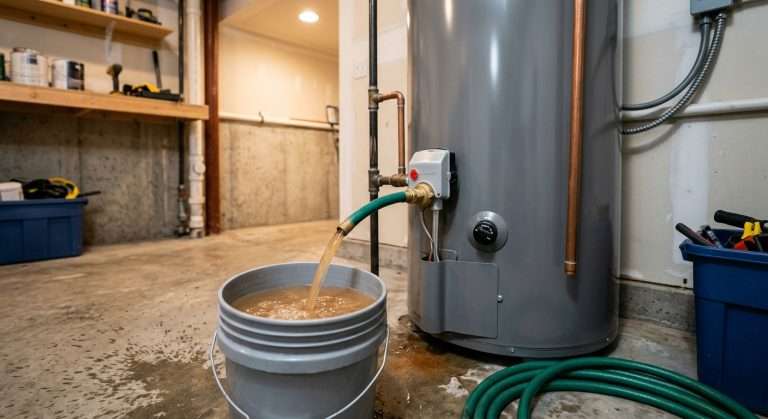
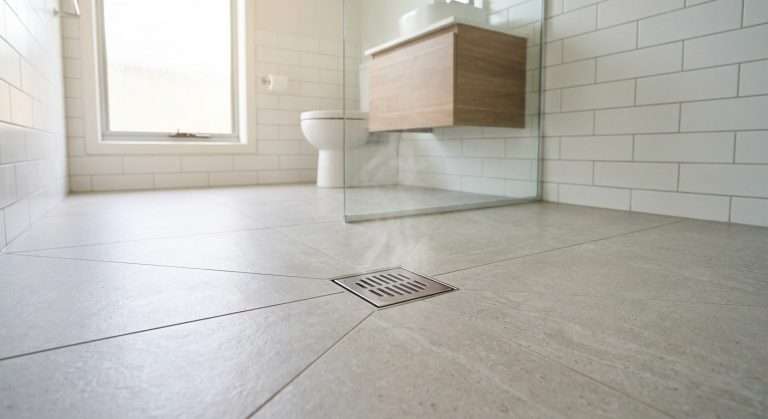
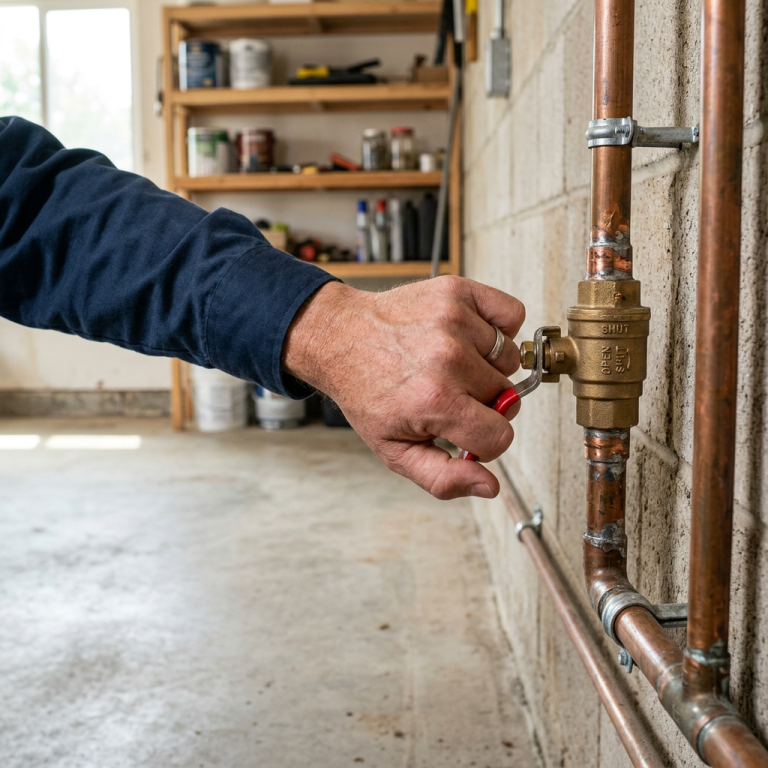
Turn off the Water Supply – Prevent Flooding
To prevent flooding, shut off both hot and cold water valves at the sink before starting any repairs. This simple step can save you from potential water damage while you work on the faucet.
Shutting off the water supply before making any repairs to a leaky faucet is essential for preventing potential flooding. Not only does it keep your home dry, but it also keeps you safe from electric shock. Many modern sinks are connected to electrical wiring, so if the water were to come in contact with exposed wires, you could be in danger.
Remove the Old Parts – Access the Broken Pieces
Unscrew the old nuts and bolts to access and replace the broken faucet components. If you’re inexperienced in DIY repairs, don’t hesitate to reach out to our team at Western Rooter & Plumbing for guidance.
Replace the Faucet Parts – Follow Manufacturer’s Instructions
Follow the manufacturer’s guidelines carefully when attaching new parts to ensure proper function. If you encounter any difficulties, our team is always here to help make the process approachable and customer-focused.
Test It Out – Check for Proper Functioning
After installing the new parts, turn on the water supply to check for leaks or irregular water flow. This ensures everything is working correctly, preventing potential issues from faulty equipment.
Congratulations!
You’ve successfully replaced the broken faucet parts and can now enjoy the benefits of a restored faucet. Tackling DIY projects like this can be rewarding, helping you build skills and learn more about how things work. While plumbing problems can be complicated, being prepared with a helpful approach and knowledge is key to success.
We hope this blog post has provided valuable insight into identifying the issue and confidently moving forward with troubleshooting and restoration.
Remember, Western Rooter & Plumbing is here to help if you ever need assistance.