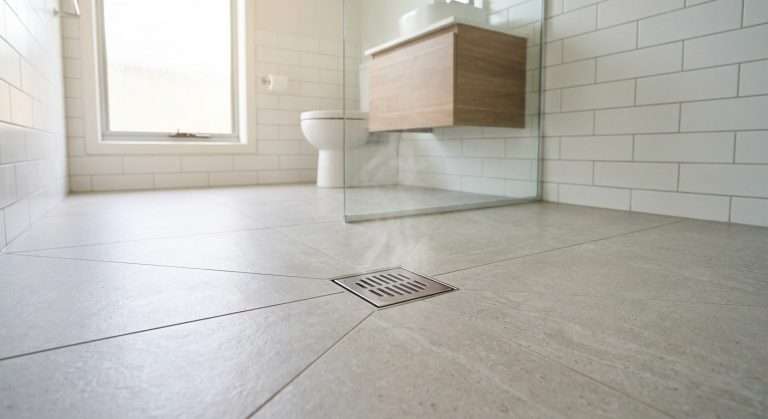
Are you experiencing issues with your toilet flush?
If you find yourself constantly dealing with a weak or ineffective flush, a faulty flush valve might be the culprit. At Western Rooter, we understand the significance of a well-functioning plumbing system and the impact it has on your daily life.
Our team of experts is dedicated to providing reliable solutions and ensuring your plumbing system operates at its best, so you can enjoy peace of mind.
That’s why we’ve put together this comprehensive step-by-step guide, complete with detailed instructions and helpful tips, to assist you in replacing a toilet flush valve like a seasoned professional. With our guide, you’ll have all the information you need to confidently tackle this task and ensure a successful outcome.
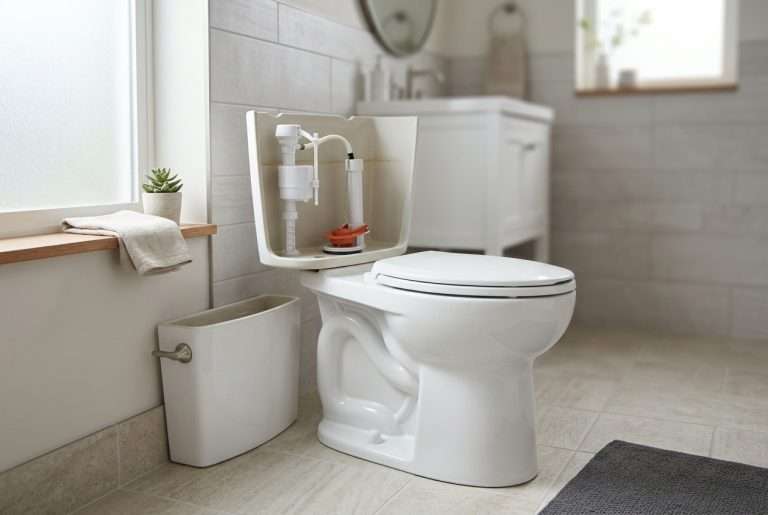
What Is a Toilet Flush Valve?
Before we get into the steps of replacing a toilet flush valve, let’s first understand what it is and how it affects the functionality of your toilet. The flush valve plays a crucial role in controlling the release of water from the tank to the bowl when you flush.
Working alongside the fill valve and flapper, it forms a complete flushing system. By knowing more about these components, you’ll be better equipped to handle any toilet maintenance needs.
Signs of a Faulty Flush Valve
A faulty flush valve can manifest in various ways, and it’s essential to identify the signs early on to avoid bigger issues down the line. Some common signs that indicate your toilet flush valve needs replacing include:
- Weak or inconsistent flush: If you notice that your toilet is not flushing properly or the flush seems weak, it could be a sign of a faulty flush valve. This can lead to inefficient flushing and waste buildup over time.
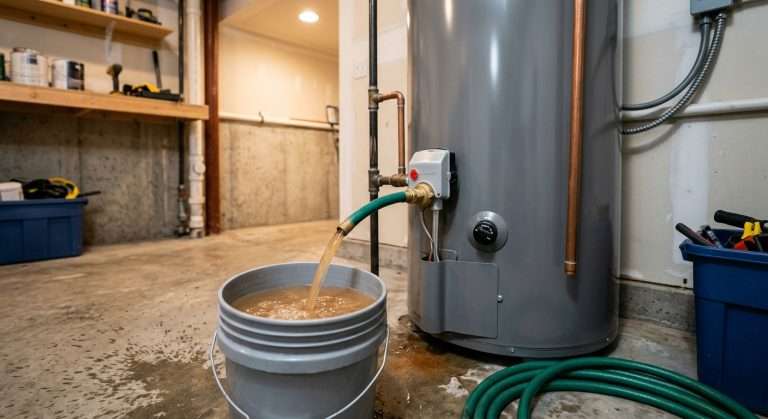
- Constantly running toilet: If your toilet continues to run even after flushing, it could be due to a malfunctioning flush valve. This can result in water wastage and higher utility bills if not addressed promptly.
- Water leaks around the base of the toilet: A faulty flush valve may cause water to leak around the base of the toilet. This can lead to water damage to the flooring and subfloor if left unresolved.
- Water pooling around the base of the toilet: Another indication of a faulty flush valve is the presence of water pooling around the base of the toilet. This can be a sign of a faulty seal or a damaged flush valve, which requires immediate attention to prevent further water damage.
If you notice any of these signs, it’s crucial to take action and replace your toilet flush valve. By doing so, you can restore proper flushing functionality, prevent water waste, and avoid potential water damage to your bathroom.
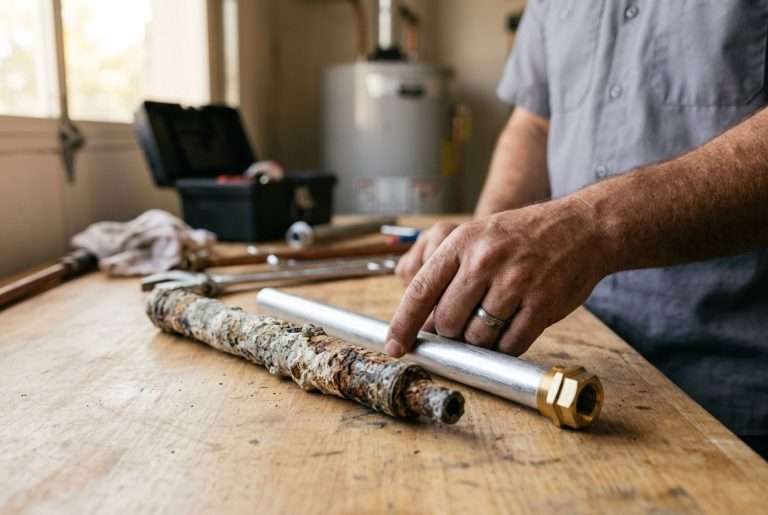
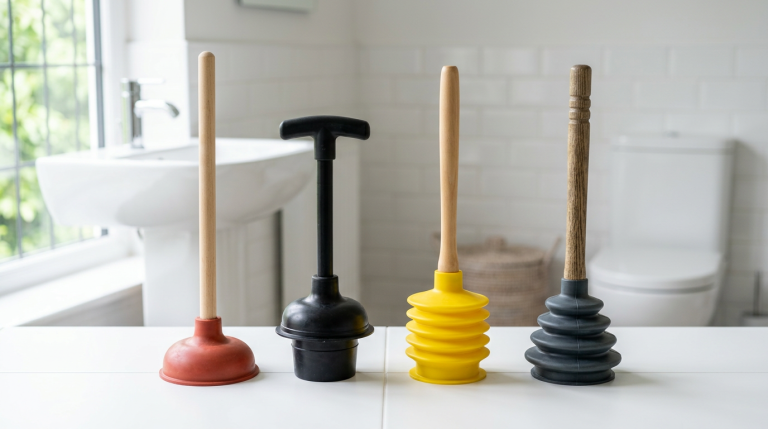
What You’ll Need
Replacing a toilet flush valve is not as daunting as it may seem. With the right tools and a basic understanding of the process, you can confidently tackle this DIY project in no time. Here’s what you’ll need to get started:
- Adjustable wrench: This tool will come in handy for loosening and tightening various fittings during the replacement process.
- Screwdriver: You’ll need a screwdriver to remove any screws or fasteners holding the old flush valve in place.
- Plunger: Having a plunger nearby can be helpful in case you run into any issues with water drainage or clogs.
- Replacement flush valve: Make sure to choose a flush valve that is compatible with your toilet model. This is the key component that will control the flushing mechanism.
- Plumber’s tape: Applying plumber’s tape to the threaded connections will help create a watertight seal and prevent leaks.
- Towels or rags: Keep some towels or rags handy to mop up any water spills or drips that may occur during the replacement process.
By following the steps carefully and using these tools, you’ll be able to replace the toilet flush valve efficiently and restore the proper functioning of your toilet. Happy DIY-ing!
How To Replace a Toilet Flush Valve
Now that you have all the necessary tools and knowledge, it’s time to dive into the process of replacing a toilet flush valve. Follow these steps for a successful replacement:
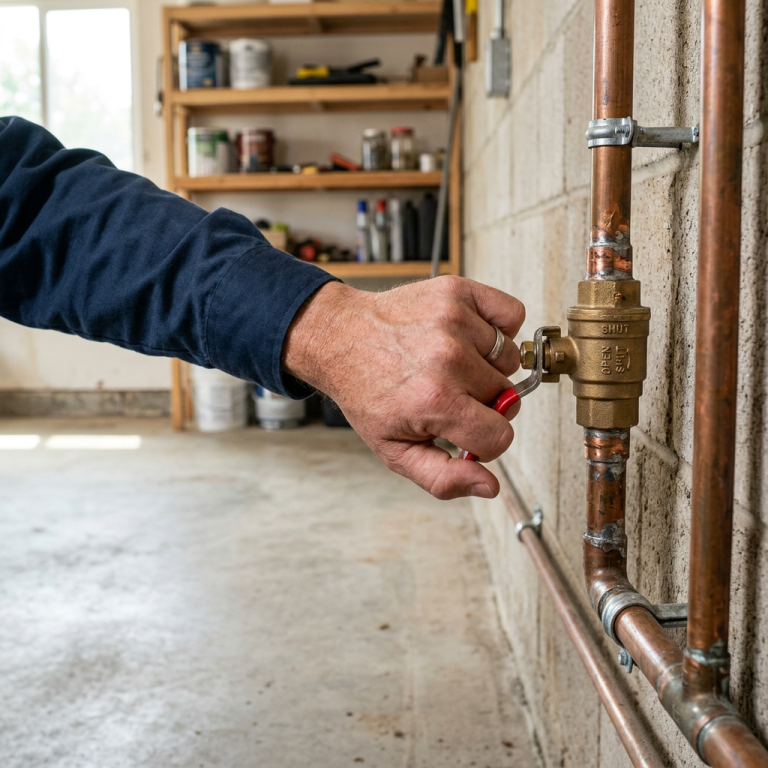
Step 1: Shut Off the Water Supply
To get started, locate the water shut-off valve near the base of your toilet. You can usually find it on the wall or floor. Turn the valve clockwise to stop the water flow. Don’t forget to flush the toilet afterwards to empty the tank completely.
Step 2: Take Off the Tank Lid
With caution, carefully remove the lid of the tank and set it aside. Be careful not to drop or damage it, as it can be fragile.
Step 3: Disconnect the Water Supply Line
Using an adjustable wrench, loosen and disconnect the water supply line from the fill valve. The fill valve is usually located on the bottom left side of the tank. Turn the wrench counterclockwise to loosen the nut, and once it’s loose, remove the supply line from the valve.
Step 4: Remove the Old Flush Valve
To start, unscrew the nuts that hold the flush valve securely to the tank. In some cases, you may need a screwdriver to hold the bolts from inside the tank while loosening the nuts. Once the nuts are loosened, carefully remove the old flush valve, making sure that all the components are properly detached.
Step 5: Installing the New Flush Valve
Now it’s time to install the new flush valve. Start by placing the new flush valve into the corresponding hole in the tank. Take a moment to make sure that the overflow tube is properly aligned and facing the fill valve. Once everything is in position, firmly tighten the nuts to securely hold the new flush valve in place.
Step 6: Reconnecting the Water Supply Line
Before moving forward, wrap plumber’s tape around the threads of the fill valve. This will help create a watertight seal when reconnecting the water supply line. Once the plumber’s tape is in place, carefully reconnect the water supply line, ensuring that it is securely attached.
Step 7: Let’s turn on the water supply.
Now, gently twist the water supply valve back on and let the tank fill up completely. While the water is flowing in, keep an eye out for any leaks around the connections and pipes. If you spot any leaks, don’t worry! Just take a moment to tighten or adjust them as needed to ensure a secure and watertight seal.
Step 8: Time to test the flush.
Once the tank is filled to your desired level, it’s time to put the flush mechanism to the test. Simply press down on the flush handle or button and observe as the water swiftly and effectively flushes down the drain. Pay close attention for any unusual sounds or signs of malfunction. If everything works smoothly and just as you’d expect, congratulations! Your toilet is now ready to be used.
Conclusion
Replacing a toilet flush valve is a simple task that you can easily do yourself with just a few basic tools. But don’t worry, if you run into any issues or prefer a professional touch, Western Rooter is here to lend a hand. Our team of plumbing experts is ready to assist you with their knowledge, tools, and experience to tackle any plumbing problem you may have.
Whether it’s a minor repair or a complex installation, you can rely on Western Rooter as your trusted service provider in the Los Angeles and San Gabriel Valley areas.
Contact us today for prompt, professional, and friendly service. We’re here to help!