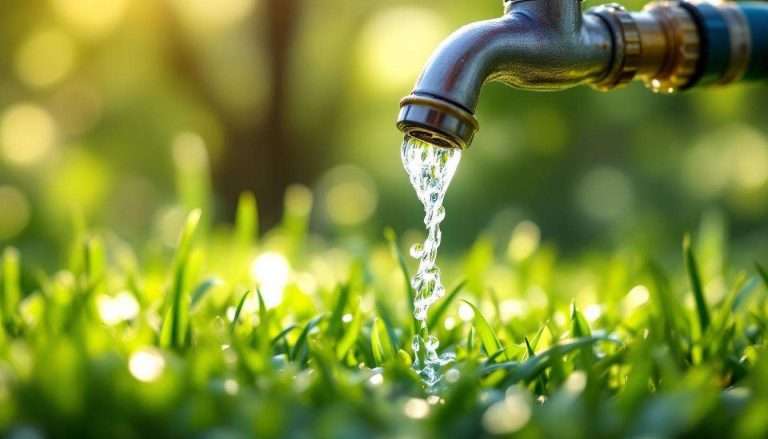
Water is an essential part of our daily lives, yet many people are increasingly concerned about its quality. Whether it’s news about contaminants in the water supply or just the realization that your tap water doesn’t taste quite right, it’s clear that clean, filtered water is more important than ever. This is why so many households are turning to water filtration systems to ensure their water is as pure and safe as possible.
Understanding the process of installing a water filtration system isn’t just for the DIY enthusiasts—it’s crucial for anyone who wants to ensure their system works effectively for the long haul. Proper installation is the first step toward ensuring that your water filtration system delivers the best results, providing you and your family with clean, safe water every day.
In this guide, we’ll walk you through everything you need to know about the water filtration system installation process. From assessing your water quality needs to choosing the right system, gathering the necessary tools, and deciding whether to go the DIY route or hire a professional, we’ve got you covered. Let’s dive in!
Assessing Your Water Filtration Needs
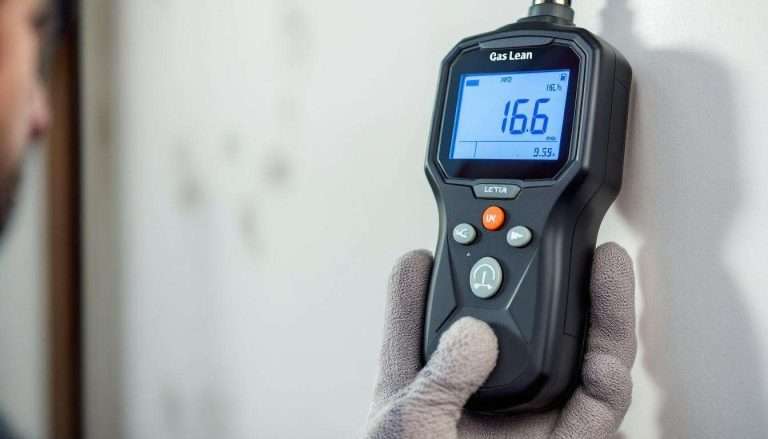
Before you even think about installing a water filtration system, it’s crucial to understand what exactly you’re trying to filter out. The first step in this process is testing your home’s water quality. This isn’t just about peace of mind; it’s about identifying the specific contaminants that could be affecting your water. Common culprits include chlorine, sediment, heavy metals, bacteria, and even pesticides. Knowing what’s in your water helps you choose the filtration system that will best meet your needs.
Choosing the Right System
Once you’ve got a clear picture of what’s in your water, it’s time to choose the right filtration system. There are several options, each designed to target different contaminants.
- Reverse Osmosis Systems: These are top-tier when it comes to water purification. Reverse osmosis (RO) systems work by forcing water through a semi-permeable membrane that blocks contaminants while allowing clean water to pass through. RO systems are incredibly effective at removing a wide range of pollutants, including heavy metals, chlorine, and even some viruses.
- Ion-Replacement Systems: If you’re dealing with hard water, an ion-replacement system might be your best bet. These systems soften water by swapping out hardness-causing minerals like calcium and magnesium with sodium ions. This not only makes your water safer but also helps extend the life of your plumbing and appliances by preventing scale buildup.
- Activated Carbon Filters: These filters are great for removing organic compounds, chlorine, and other chemicals that can affect the taste and smell of your water. Activated carbon works by adsorbing impurities onto the surface of the filter media, effectively trapping them and leaving you with cleaner, better-tasting water.
Each of these systems has its strengths, so your choice should be guided by the specific needs identified during your water quality test. Whether you need the robust filtration of an RO system or the targeted action of an ion-exchange filter, selecting the right system is key to ensuring your water is as pure as possible.
Preparing for Installation
Now that you’ve chosen the right system for your needs, it’s time to get ready for the installation. Preparation is key to a smooth installation process, whether you’re doing it yourself or hiring a professional.
Tools and Materials Needed
For those considering a DIY installation, having the right tools on hand is essential. Basic tools like drills, wrenches, and pipe cutters will be your go-to items. However, depending on the type of water filtration system you’re installing, you might also need more specialized tools.
- Drills and Drill Bits: A strong, cordless drill is often necessary for creating holes in cabinets or countertops. For drilling through tougher materials like marble or granite, you’ll need a diamond drill bit to ensure a clean, smooth cut.
- Pipe Cutters and Wrenches: These are crucial for making precise cuts in your plumbing and securing connections. A good pipe cutter ensures clean cuts, while wrenches help tighten fittings without damaging them.
Having these tools ready will not only make the installation easier but also ensure that your system is securely installed and functions correctly.
Professional vs. DIY Installation
When it comes to installing a water filtration system, many homeowners grapple with the decision of whether to go the DIY route or hire a professional. Each option has its pros and cons.
- Pros of Professional Installation: Hiring a professional guarantees that your system is installed correctly the first time. Professionals bring expertise that can help avoid common installation mistakes, such as incorrect fittings or improperly sealed connections. They also have the experience to deal with unexpected issues, such as complex plumbing configurations or unusual water pressure levels, ensuring that your system operates at peak efficiency from day one.
- When to DIY: On the other hand, DIY installation might be appealing if you’re handy and confident in your plumbing skills. For simpler systems, like under-sink filters, doing it yourself can save money and give you a sense of accomplishment. Just make sure to thoroughly understand the process and have all the necessary tools and materials before you start. Remember, though, that even minor mistakes can lead to leaks or reduced system performance, so proceed with caution.
Whether you choose to install your system yourself or hire a professional, the key is to ensure it’s done right. A properly installed system will not only work more efficiently but will also last longer, providing you with clean, filtered water for years to come.
Step-by-Step Installation Process
Step 1: Shut Off the Water Supply
Before beginning any installation work, safety comes first. The first critical step is shutting off your home’s main water supply to prevent any water from flowing through the pipes during the installation process. Locate the main water valve usually found near the water meter or where the main water line enters your home—and turn it clockwise until it stops. This will prevent any accidental flooding and keep your work area dry and manageable. Always double-check to ensure the water supply is fully shut off by turning on a faucet; if no water comes out, you’re good to go.
Step 2: Installing the Filtration Unit
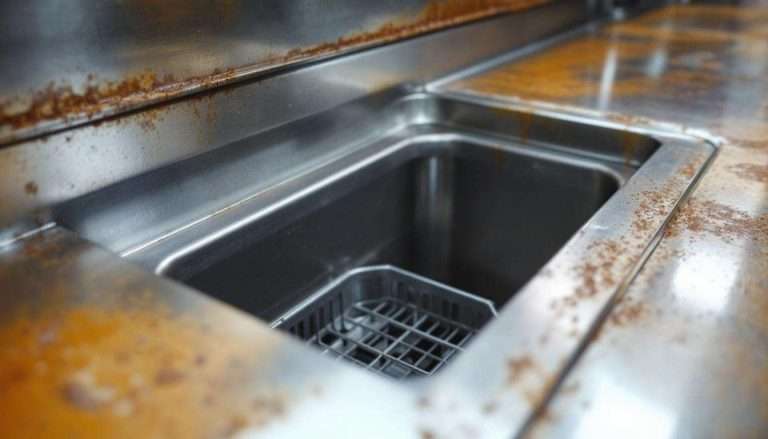
Under-Sink Installation: For an under-sink system, start by identifying the best spot for the filtration unit under the counter, typically close to the cold water line. You’ll need to drill a hole in the sink or countertop to accommodate the faucet for the filtered water.
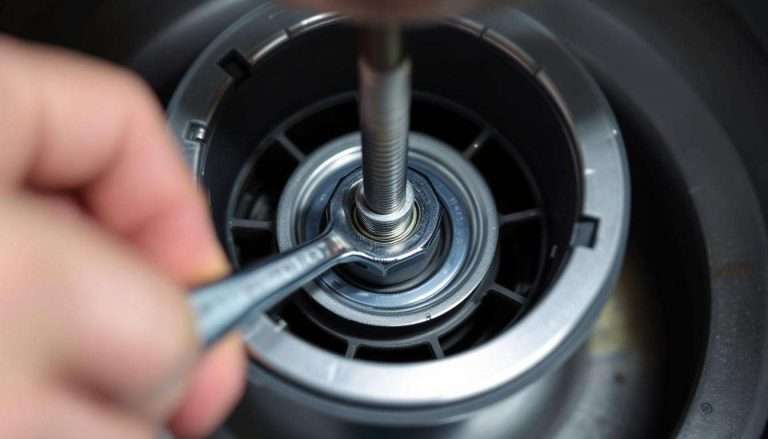
Precision is key use a proper drill bit suited to your countertop material, whether it’s stainless steel, marble, or granite. Once the hole is drilled, mount the faucet securely, ensuring that it sits flush and stable. Next, install the filtration unit by securing it to the cabinet wall or placing it on the cabinet floor, making sure it’s easily accessible for future filter changes. Connect the unit to the cold water line using the provided fittings, and ensure everything is tightly secured to prevent leaks.
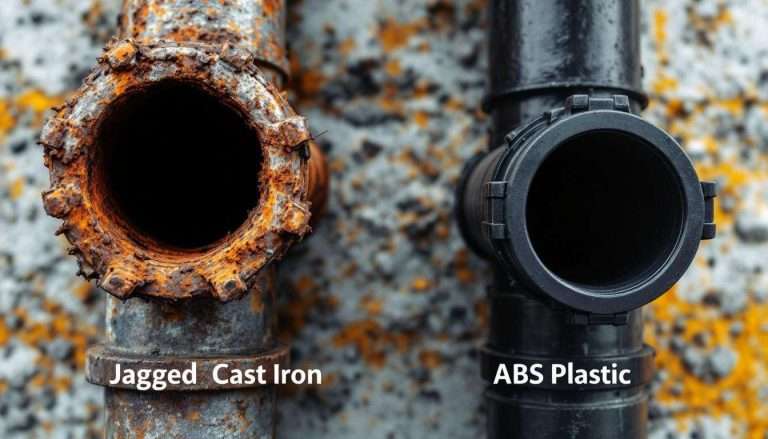
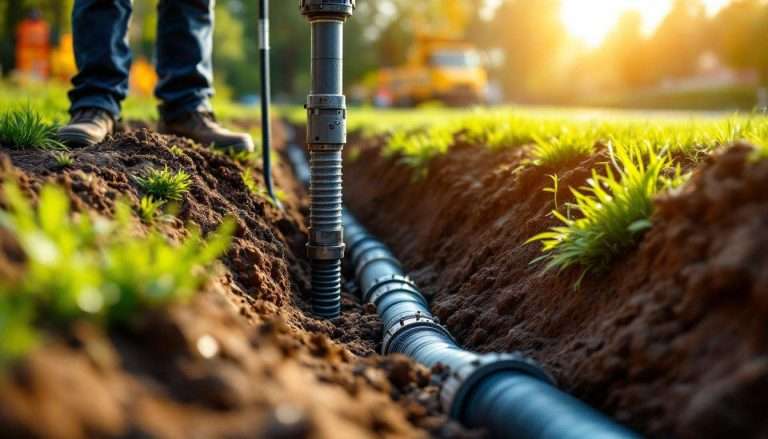
Whole-House Installation: Installing a whole-house filtration system is a bit more complex. Begin by selecting a location near where the main water line enters your home—this is typically in a basement or utility room. You’ll need to cut into the main water line, so be prepared with a pipe cutter and appropriate fittings.
Once the water line is cut, attach the filtration system to the main water supply using T-pieces and connectors, ensuring that the inlet and outlet pipes are properly aligned. Mount the filtration unit securely to the wall, and double-check all connections for a snug fit.
Step 3: Connecting the Filtration System
Now that the unit is in place, it’s time to connect it to your plumbing. Carefully attach the provided hoses or pipes to the unit, ensuring all connections are tight and secure. Use Teflon tape on threaded connections to prevent leaks.
Whether it’s an under-sink or whole-house system, pay close attention to the arrows on the filtration unit indicating the direction of water flow—this ensures that water passes through the system correctly. Once everything is connected, open the water supply slightly and inspect all fittings for leaks, tightening any connections as needed.
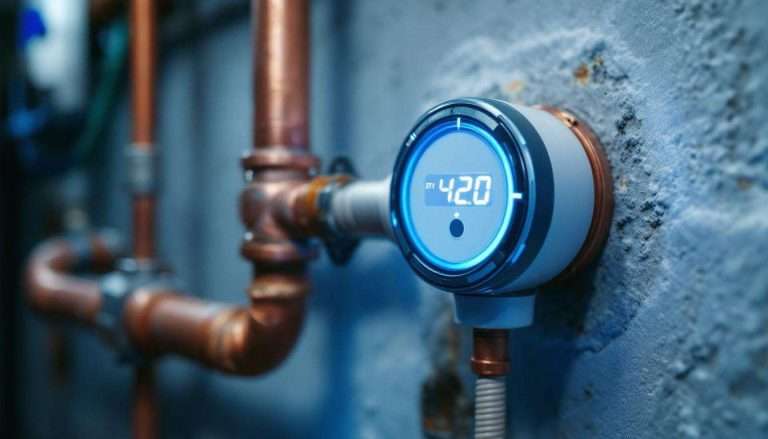
Step 4: Testing the System
With everything connected, it’s time to test your new filtration system. Start by slowly turning the water supply back on and letting the system flush for several minutes to clear out any debris or loose particles. Check all connections and fittings for leaks.
If you notice any leaks, tighten the fittings slightly until the dripping stops. Once the water runs clear and all connections are dry, test the filtered water by running it through the faucet or household taps connected to the system. Ensure the water pressure is consistent and that there are no unusual tastes or odors.
Regular Maintenance and Troubleshooting
Filter Replacement
To keep your water filtration system working at its best, regular filter replacement is essential. Over time, filters can become clogged with contaminants, reducing water flow and filtration efficiency. The replacement frequency depends on your system type and the quality of your water. For instance, activated carbon filters typically need to be replaced every 6-12 months, while reverse osmosis (RO) membranes might last between 2-5 years. Always refer to your system’s manual for specific guidelines, and keep track of replacement dates to ensure uninterrupted clean water.
Common Issues and Troubleshooting
Even with regular maintenance, issues can arise. Common problems include low water pressure, which could be due to clogged filters or an issue with the water supply. Leaks can develop if fittings become loose or if the system wasn’t installed correctly.
If you notice a drop in water quality, it might be time to check the filters or inspect the system for any blockages. Regular checks can help catch these issues early, preventing more significant problems down the line. If troubleshooting doesn’t resolve the problem, it might be time to call in a professional.
Professional Maintenance Services
While some maintenance tasks can be handled on your own, scheduling regular check-ups with a professional can ensure your system continues to run efficiently. Professionals can perform in-depth inspections, replace filters, and check for any potential issues that could shorten the lifespan of your system.
Regular professional maintenance is especially beneficial for more complex systems like whole-house filtration units, where issues might not be immediately apparent.
Benefits of Professional Installation
Expertise and Experience
Professional installers bring a wealth of knowledge to the table, ensuring your system is set up correctly from the start. They are familiar with the intricacies of different systems and can make adjustments tailored to your specific home’s plumbing setup.
Their experience helps prevent common issues that DIY installers might overlook, such as ensuring all connections are secure and that the system is properly aligned for optimal performance.
Avoiding Common Pitfalls
One of the main advantages of hiring a professional is avoiding the common pitfalls that can arise during installation. These might include incorrect pipe connections, improper system placement, or inadequate sealing of joints, all of which can lead to leaks, reduced efficiency, or even system failure. Professionals know the best practices and have the right tools to handle the installation efficiently, reducing the likelihood of errors.
Ensuring Longevity
A professional installation doesn’t just get your system up and running—it also sets the stage for a long, trouble-free lifespan. By ensuring the system is installed correctly and securely, professionals help prevent the kind of wear and tear that can lead to early breakdowns.
This means your system will continue to provide clean, filtered water for years to come, making the initial investment in professional installation well worth it.
Signs You Need a Water Filtration System
Cloudy, Smelly, or Bad-Tasting Water:
If you’ve noticed your tap water looks cloudy, smells off, or has a strange taste, these are clear indicators that your water may be contaminated. These changes in water quality are not just unpleasant—they could also be signs of harmful substances or excess minerals that need to be filtered out. A good water filtration system can help ensure that your drinking water is clean, safe, and refreshing.
Dry Skin and Hair:
Hard water is notorious for its negative effects on skin and hair. The high mineral content in hard water can strip moisture from your skin and hair, leaving them dry, itchy, and irritated. If you’ve been dealing with unexplained dryness, it might be time to consider a water filtration system. Filtering out these minerals can help your skin and hair feel softer and more hydrated after each shower.
Appliance Issues:
Hard water doesn’t just affect your body—it can also wreak havoc on your appliances. Over time, the minerals in hard water can build up inside your washing machine, dishwasher, and water heater, leading to inefficiency and even breakdowns. If you’ve noticed your appliances aren’t performing as well as they used to, or if they require frequent repairs, hard water might be to blame. Installing a water filtration system can protect your appliances and extend their lifespan.
Residue on Dishes and Surfaces:
Do you see spots on your dishes after they dry or notice a crusty buildup on your faucets and showerheads? This residue is limescale and soap scum left behind by hard water. Not only does it make your dishes and surfaces look dirty, but it can also lead to more significant cleaning challenges over time. A water filtration system can eliminate these minerals, leaving your dishes spotless and your surfaces easy to clean.
Proper Use and Maintenance of Your Water Filtration System
Proper Usage Tips:
Avoid Overloading the System: Your water filtration system is designed to handle a certain amount of water at a time. Using too much water at once, like running multiple faucets, the washing machine, and the dishwasher simultaneously, can strain the system and reduce its effectiveness. Spread out your water use throughout the day to keep the system working efficiently.
Regular Cleaning: Keeping your water filtration system clean is essential for its longevity and effectiveness. Regularly wipe down any external components and follow the manufacturer’s instructions for internal cleaning procedures. A clean system will work more efficiently and provide better water quality.
Maintenance Actions:
Monthly Inspections: Make it a habit to check your system once a month. Look for any signs of wear, such as leaks, rust, or other visible damage. Catching these issues early can prevent more significant problems down the road.
Professional Check-Ups: Even with regular DIY maintenance, it’s wise to schedule an annual professional inspection. A trained technician can spot issues that you might miss and ensure everything is running smoothly. These check-ups are an investment in the longevity and efficiency of your system.
Filter Replacement: The filters in your system are critical to maintaining water quality. Depending on the type of system and the water in your area, filters need to be replaced regularly—typically every 6-12 months. Don’t delay replacing filters, as worn-out filters can’t do their job effectively, leading to lower water quality.
Conclusion
Installing a water filtration system is a crucial step toward ensuring the quality of your home’s water. From understanding your specific needs and choosing the right system to proper installation and regular maintenance, each step plays a vital role in keeping your water clean and your system running smoothly.
Whether you’re ready to install a system yourself or prefer to leave it in the hands of professionals, the information provided here should empower you to make the best choice for your household. Clean, safe water is within your reach!
Don’t wait until water issues become a problem reach out today for a consultation to get professional water filtration system installation services. Taking action now ensures peace of mind and healthier water for you and your family.