Dealing with a leaky faucet can be more than just annoying. It’s a waste of water and money, and it can lead to higher bills and environmental concerns.
But don’t worry, we’ve got you covered!
In this comprehensive guide, we’ll walk you through the step-by-step process to identify the cause of your dripping faucet and show you exactly how to fix it yourself. From understanding different types of faucets to troubleshooting common issues, we’ll cover everything you need to know. By the end of this guide, you’ll not only have the knowledge and confidence to tackle this common household problem, but you’ll also be equipped with valuable insights and tips to prevent future leaks and save resources.
Get ready to become a DIY plumbing hero and take control of your faucet’s functionality and efficiency!
Common Causes of Leaky Faucets
Understanding why your faucet is leaking is crucial to fixing it effectively. Let’s explore some common culprits behind the issue:
Worn Sink Cartridge:
In modern, single-handle faucets, a worn-out cartridge can often cause leaks. Over time, the internal components of the cartridge can deteriorate, leading to water seepage.
Worn Compression Faucet Washer:
Double-handle faucets, especially older ones, commonly have a rubber washer that can wear out over time. When this happens, the washer fails to create a proper seal, resulting in leaks.
Other Possible Causes:
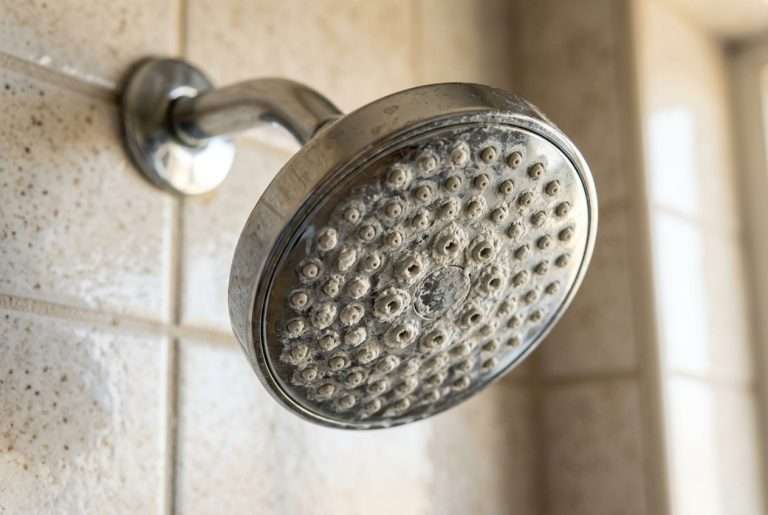
Apart from the above, there are a few other factors that could contribute to a leaky faucet. These include mineral deposits building up within the faucet, a corroded valve seat, or worn-out O-rings. Each of these issues can lead to water escaping and causing leaks.
By identifying the specific cause of the leak, you can take the necessary steps to fix it and ensure that your faucet operates smoothly once again. If you need further assistance, don’t hesitate to reach out to our customer support team. We’re here to help!
Tools and Materials Needed for Faucet Repair
Before you start, make sure you have all the necessary tools and materials ready. Here’s a list to help you:
- Adjustable wrench: This versatile tool will come in handy for various tasks during the repair.
- Screwdriver set: Make sure you have a set of screwdrivers with different sizes and types to handle different screws.
- Plumber’s tape: This essential item will help create a watertight seal and prevent leaks.
- Replacement parts: It’s always a good idea to have spare parts on hand, such as a cartridge, O-ring, and washer, in case you need to replace any worn-out components.
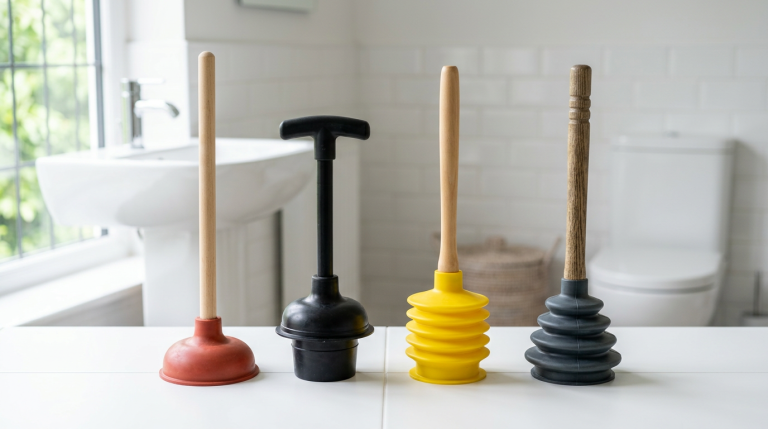
- Plunger: A plunger is an essential tool for clearing clogs and restoring proper water flow.
- Towels or rags: Keep some towels or rags nearby to wipe up any spills or excess water during the repair process.
Having these tools and materials readily available will ensure a smooth and efficient repair process.
Step-by-Step Guide to Fixing a Leaky Faucet
Follow these steps to fix your leaky faucet:
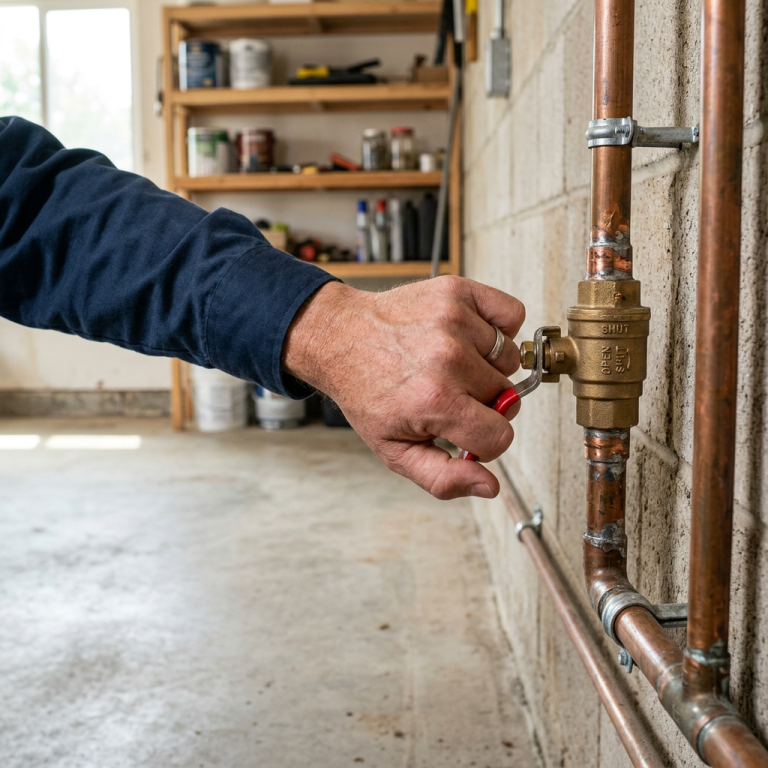
Shut Off the Water
To begin the faucet repair process, locate the shutoff valve positioned under the sink and turn off the water supply. This important step ensures that no water flows while you work on fixing the faucet.
Remove the Faucet Handle
Next, using a screwdriver, carefully remove the screws securing the faucet handle. Once the screws are loosened, gently lift the handle off the faucet.
Identify the Type of Faucet
It’s important to identify the type of faucet you’re dealing with because each one requires a specific repair method. Let’s take a look at the three main types of faucets commonly found in households:
- Cartridge Faucet: These are commonly seen in modern kitchens and bathrooms. They use a cartridge mechanism to control the water flow and temperature.
- Compression Faucet: You’ll often find these in older homes. They have separate hot and cold handles and work by using a compression stem to control the water flow.
- Ceramic Disc Faucet: These faucets have a ceramic disc that controls the water flow. They are known for their durability and long lifespan.
By understanding the type of faucet you have, you can choose the appropriate repair method to ensure a successful fix. If you need any assistance, feel free to reach out!
Replace the Faulty Parts
If your faucet is acting up, don’t worry! We’ve got you covered. First, let’s identify and replace the specific worn-out component such as the cartridge, washer, or O-ring. These small yet crucial parts play a big role in the performance of your faucet, so it’s important to keep them in tip-top shape.
Disassemble the Faucet
Now, let’s take it apart. Don’t worry, it’s easier than it sounds. Just follow the reverse order of how it was put together. Keep an eye on those screws and nuts you remove, we’ll need them later for a smooth reassembly process. Also, take note of any other parts that might need some extra attention or cleaning along the way.
Clean and Inspect
While you have the faucet taken apart, it’s a great opportunity to remove any debris or mineral buildup that might be affecting its performance. Take a close look at the different parts to check for any damage or signs of wear that might require further replacement or repair.
Reassemble with Precision
Once you’ve made the necessary replacements and cleaned the faucet, it’s time to put it back together. Make sure to tighten all screws and nuts securely, but be careful not to overtighten and risk causing damage. Take your time to align the different parts properly and ensure a perfect fit.
Test for Leaks and Functionality
After reassembling everything, turn the water supply back on and carefully test the faucet for any leaks or irregularities. Pay attention to the flow, pressure, and temperature control to make sure the repairs were successful. If any issues persist, you may need to disassemble the faucet again and reassess your work.
By following these detailed steps, you can effectively replace faulty parts, reassemble your faucet, and test for leaks to guarantee optimal performance.
Additional Tips and Tricks for Faucet Repair
- Before you begin any repairs, always remember to turn off the water supply using the shut-off valve. This simple step will save you from accidental leaks or water damage.
- When you take apart the faucet, it’s a good idea to organize the small parts in the order you remove them. This way, you’ll find it easier to put everything back together correctly and avoid any confusion.
- If you’ve tried fixing a leak but it just won’t go away, it might be a good idea to reach out to a professional plumber. They have the expertise to identify and fix more complex issues that could be causing the persistent leak.
Remember, taking the time to properly repair your faucet not only helps you save water and prevent further damage, but it also extends the lifespan of your fixture.
We’re here to help you every step of the way!
Conclusion
Fixing a leaky faucet is actually a pretty straightforward task that most homeowners can handle with a little preparation and the right tools. It’s not only a great way to save money, but it also gives you the satisfaction of solving the problem on your own.
But hey, we get it – sometimes the leak is persistent or more complicated than it seems. That’s when you might need to call in the experts.
Don’t worry, we’ve got you covered! We’re here for you 24/7, ready to provide fast, reliable, and professional assistance whenever you need it.
People Also Ask
Is it easy to fix a leaky faucet?
Absolutely! Fixing a leaky faucet is a doable DIY project that gets even easier with the right tools and guidance. Just follow our step-by-step instructions and use the appropriate tools, and you’ll be able to successfully repair that pesky leaky faucet. Take control of your plumbing!
What causes a faucet to drip?
A dripping faucet can be caused by a few factors, but some common culprits include worn-out cartridges, washers, or O-rings. Over time, these components can wear down, leading to a faulty seal that allows water to escape and create that annoying drip. But don’t worry, we’ve got you covered!
Is a dripping faucet dangerous?
While a dripping faucet may not seem like a big deal, it can actually cause potential water damage and wastage over time. That constant drip can lead to staining, deterioration, and even mold growth if left unaddressed. So why wait? Take action now and fix that issue promptly. We’re here to help!
How to temporarily stop a dripping faucet?
If you’re looking for a quick fix to deal with the irritation of a dripping faucet, here’s a handy trick: tie a string around the faucet. This simple technique helps guide the water into the sink, reducing noise and minimizing splashing. While it won’t permanently fix the underlying issue, it can provide temporary relief until you’re able to fully repair the faucet.
Can you fix a leaky faucet without turning off the water?
When it comes to fixing a leaky faucet, it’s generally best to turn off the water supply. Attempting repairs without doing so can potentially lead to water damage and complicate the repair process. Ensuring the water is turned off before starting any faucet repair is the safest approach, minimizing the risk of accidents or further damage to your plumbing system.