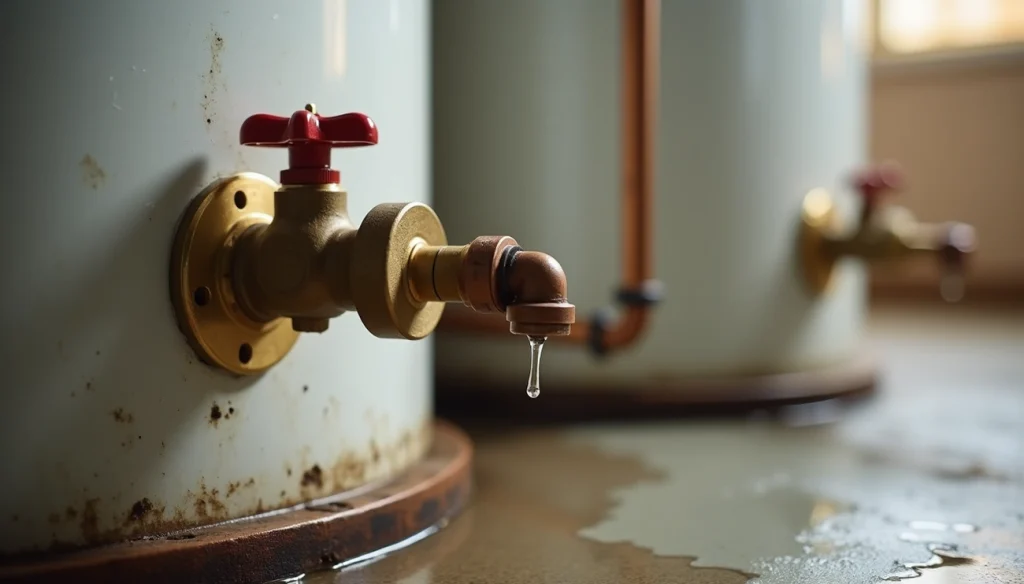
That dripping water heater relief valve might look harmless, but it’s actually warning you about a dangerous situation in your home. Your hot water heater’s pressure relief valve (PRV) is a vital safety component that prevents catastrophic failures.
A properly working valve stays closed during regular operation. The valve automatically releases excess pressure at the time water temperature hits 210°F or tank pressure goes beyond 150 psi. Your tank could burst and flood your home without this safety mechanism because pressure would build up to dangerous levels.
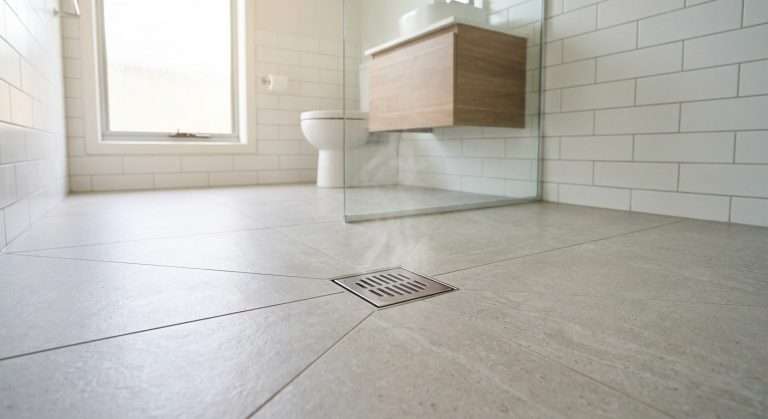
Water pooling near your heater or dripping from the discharge pipe needs immediate attention. Let me help you understand why your hot water heater relief valve keeps leaking. In this piece, we’ll look at common causes, help you diagnose the issue correctly, and walk you through practical solutions that won’t get pricey with repairs or replacement.
How the Water Heater Relief Valve Works
The temperature and pressure relief valve (T&P valve) acts as your water heater’s main safety feature. This small but vital part needs your attention, since a water heater relief valve leaking usually shows why it happens that need quick fixes.
What it does and why it opens
Think of the T&P valve as your water heater’s guardian angel. It keeps watch over two crucial things in your tank: temperature and pressure.
The relief valve works through a clever yet simple system. A spring-loaded disk stays shut against its seat when everything’s normal. The spring is fine-tuned to handle a specific amount of force. The valve lifts and releases water once pressure or temperature goes beyond safe levels.
This automatic safety feature stops your tank from becoming dangerous. A broken relief valve would let pressure build until your tank bursts. This isn’t just a simple crack – it could turn your tank into a rocket shooting through your house.
Normal pressure and temperature ranges
Knowing what’s normal helps you spot hot water heater relief valve leaking problems early. Here’s what you should expect:
- Standard operating pressure: 50-100 PSI
- Maximum safe pressure: 150 PSI (when valve opens)
- Maximum safe temperature: 210°F (when valve opens)[63]
Most home T&P valves kick in at these specific points. So any water coming out when you’re not testing means something’s wrong and you need a pro to look at it.
The safety system keeps water from boiling inside your tank. The relief valve opens by itself as temperatures get close to 210°F. This lets cold water flow in and brings both temperature and pressure down to safer levels.
What happens during a blowdown event
A “blowdown event” happens when your relief valve releases extra pressure or heat. Several things happen quickly:
The valve opens and pushes hot water and steam through its discharge tube. This pipe points the scalding water safely toward the floor instead of spraying out where it might burn someone.
You’ll hear a distinct popping or hissing sound as pressure forces water through the tube. Water keeps flowing until enough pressure drops for the valve to close itself.
Plumbers call this pressure-release process a “blowdown”. Cleaning up water from your floor might be annoying, but it beats having your tank explode.
Your water heater should work without any valve discharge except during tests. A water heater pressure relief valve leaking or dripping outside of testing means you need someone to check it right away.
Common Signs Your Relief Valve Is Leaking
You can save yourself from water damage and dangerous situations by spotting the warning signs of a water heater relief valve leaking early. Your relief valve should stay closed during normal operation, but these four signs show something’s wrong with your system.
Water pooling near the heater
The most obvious trouble sign shows up as water collecting around your water heater’s base. You might notice small puddles or water running down the tank’s side. This pooling usually means your Temperature and Pressure Relief Valve releases water as a safety measure.
Never ignore water around your heater. The moisture can damage your flooring and create mold. Your system might be under stress. Ongoing leaks can warp walls and damage nearby pipes or fittings that could suddenly burst if you don’t fix the problem.
Small amounts of water might seem harmless, but even tiny leaks mean your T&P valve activates because:
- Your tank temperature might be too high (The Department of Energy recommends 120 degrees Fahrenheit)
- Too much pressure builds up in the system
- You might have a faulty valve that needs replacement
Dripping from the discharge pipe
Your relief valve’s discharge pipe safely directs hot water away from the tank. Water dripping from this pipe means your T&P valve releases pressure. A few drips during heating cycles are normal as pressure adjusts, but constant dripping points to a problem.
Steady drips from the discharge pipe usually mean your system has one of these issues:
- Too much system pressure
- Thermal expansion problems
- Sediment buildup affects valve operation
- Internal valve parts wear down
Hot water escapes through these continuous leaks and wastes energy, which reduces your water heater’s efficiency. Small drips often get worse over time if you don’t fix what causes them.
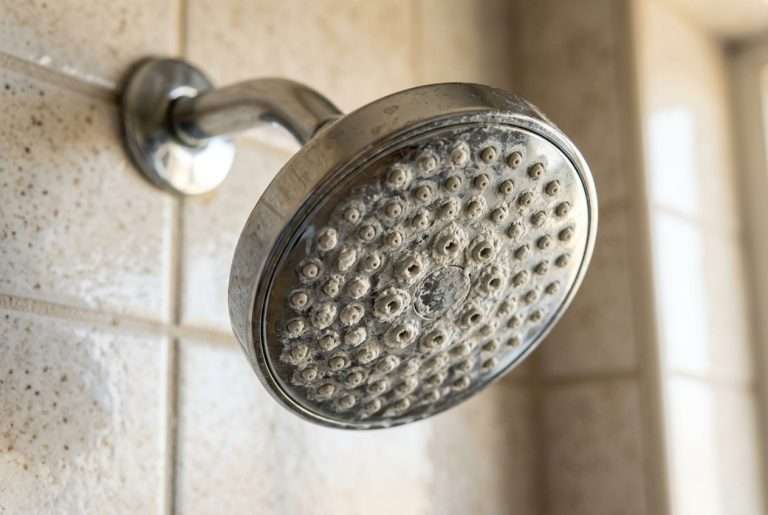
Rust or mineral buildup around the valve
Long-term moisture exposure leaves behind visible corrosion or mineral deposits around your relief valve. These buildups serve as diagnostic clues about your valve’s health.
White, chalky substances coating the valve and surrounding areas are mineral deposits. Reddish-brown discoloration shows metal deterioration from rust. Both signs mean water has escaped from the valve over time.
These deposits tell you if your valve needs attention:
- Heavy mineral buildup might mean the valve is partially blocked
- Rust suggests internal parts could be corroding
- Large buildups often mean the valve seal doesn’t work properly
Corrosion makes valve parts break down faster, which creates a cycle of worsening leaks.
Valve stuck in open position
The most serious problem occurs when your T&P valve stays permanently open. A stuck valve releases water non-stop and causes major water loss and damage.
Look for these signs:
- Water flows constantly from the discharge pipe
- The valve lever stays lifted
- The valve won’t stop water flow during manual testing
A stuck valve creates bigger problems beyond wasting water. Your home’s hot water supply suffers because the system loses pressure. The valve might have a severe malfunction or your system pressure could be dangerously high.
The valve likely needs replacement if it stays stuck after you try to reset it manually. Sometimes sediment or debris physically keeps the valve from closing properly.
How to Diagnose the Problem Before Fixing It
Don’t rush to fix your water heater relief valve leaking. You need to get a full picture to find the exact cause and right solution. Let’s get into how you can spot the problem correctly.
Visual inspection tips
Start by looking at the relief valve and surrounding area to assess your water heater’s condition:
- Check if water drips from the discharge tube
- Look for mineral deposits or corrosion around the valve opening
- Look at the tank for moisture, rust streaks, or water stains
- Make sure the discharge pipe slopes downward and ends 6-24 inches above ground
Note that condensation on the tank might look like a leak, especially when you have cold water in the tank cooling the outer surface in a warm environment. You can tell the difference by wiping the area dry and watching if water appears again.
How to test the valve manually
Your Temperature and Pressure (T&P) relief valve needs testing twice a year to prevent dangerous pressure buildup. Here’s how to test it safely:
- Put a bucket under the drain pipe to catch hot water
- Protect yourself with footwear and gloves to avoid burns
- Lift the test lever to a 90-degree angle and hold it for about five seconds
- Let go of the lever and check that it goes back fully to its closed position
Water should flow freely during the test and stop completely when you release the lever. The valve needs replacement if it won’t open, only trickles, or keeps dripping afterward.
Checking for thermal expansion issues
Heated water expands and needs somewhere to go in a closed plumbing system. This thermal expansion often causes relief valve leaking. Here’s how to check:
- Use a pressure gage on a hose bib to measure your home’s water pressure
- Your pressure should stay between 40-80 PSI—higher readings signal a problem
- Check your expansion tank by taking off its cap and pressing the Schrader valve
- A failed rubber diaphragm will release water instead of air
An expansion tank gives water space to expand safely. Relief valves often leak because pressure builds up without this tank.
When the leak is not from the valve
Sometimes what looks like a leaking relief valve starts somewhere else. Check these spots before replacing parts:
- Top connections might have loose pipe fittings you can gently tighten
- The drain valve at the tank’s bottom could be faulty
- Cold water inlet valve might have issues
- Temperature changes can create condensation on tank surfaces
The valve itself needs replacement if the leak continues after you check all these potential causes.
Step-by-Step Fixes for a Leaking Relief Valve
Fixing a water heater relief valve leaking needs proper safety measures and technique. These proven steps will help you fix this common plumbing problem and get your system working safely again.
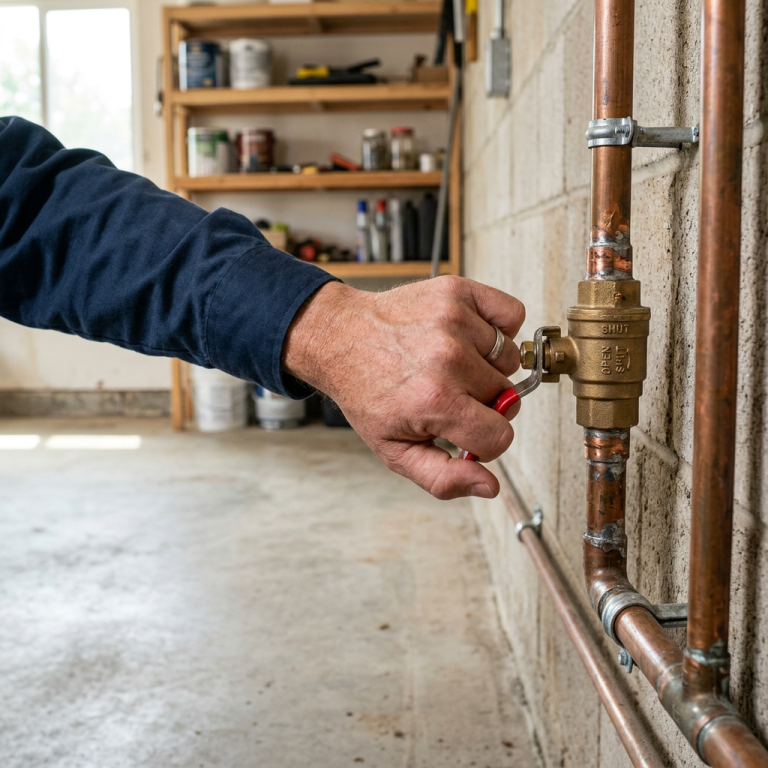
1. Turn off power and water supply
Electric water heaters need you to locate your home’s electrical panel and switch the circuit breaker to the “OFF” position. Gas models require you to find the gas control valve on the unit’s front and turn it to the “OFF” position to stop gas flow.
The cold water supply needs to be shut off next. Look for the valve on the inlet pipe at your water heater’s top (usually with a blue handle). Turn this valve clockwise until it stops. This stops more water from entering the tank during repairs.
2. Relieve pressure from the tank
The system needs pressure release after power and water shutdown. Lift the lever on your T&P valve with care to release tank pressure.
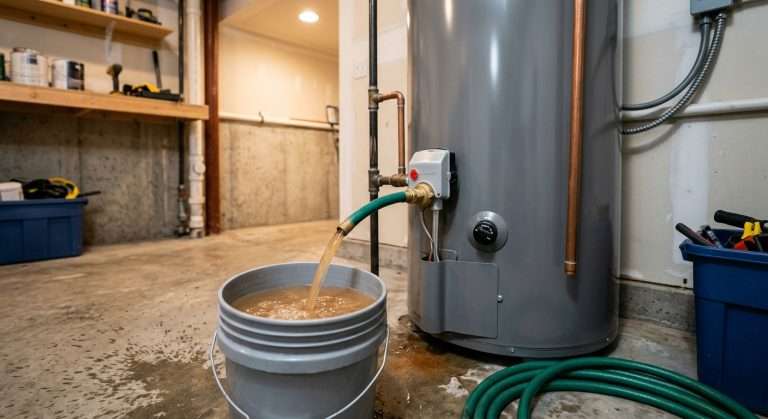
Connect a garden hose to the drain valve at the tank’s bottom. A hot water faucet in your home needs to be opened to let air in and aid draining. You should drain enough water below the relief valve – about one gallon for top-mounted valves or ten gallons for side-mounted ones.
3. Clean or flush the valve
Sediment builds up in the valve over time and stops it from sealing properly. A relief valve might leak just because sediment blocks proper sealing.
The valve might work after a good flush. The test lever can be lifted and released several times to clear any debris once pressure is gone. This simple action often reseats the valve and fixes the leak.
4. Replace the valve if needed
Replacement becomes your only option if cleaning fails to stop the leak. Most manufacturers suggest a T&P valve replacement every 3-5 years. The old valve needs to be unscrewed counterclockwise from its fitting using an adjustable wrench.
The new valve needs Teflon tape wrapped around its threads (5-7 wraps clockwise) for a watertight seal. Start threading the new valve by hand, then finish with a wrench – but avoid overtightening.
5. Reconnect and test the system
The drain valve should be closed and garden hose removed after installing the new valve. Open the cold water supply valve and let the tank refill. Look for leaks around the new valve during filling.
Electric models need the circuit breaker switched back on, while gas models need the gas turned on after filling completes. Test the new valve by lifting the test lever for five seconds and releasing it. Make sure it snaps back fully and stops water flow.
How to Prevent Future Leaks and Extend Valve Life
Preventing water heater relief valve leaking takes less effort than fixing it. Your valve will last longer with good maintenance that protects your water heating system from damage.
Flush your water heater annually
Sediment buildup creates a barrier between heating elements and water. This forces your system to work harder and can trigger relief valve leaks. A good flush removes calcium, minerals, and rust flakes that collect inside your tank. This simple task helps restore pressure and streamline processes while stopping long-term corrosion that could harm your relief valve.
Test the valve every 6 months
Regular testing will give a properly working T&P valve. You should place a bucket under the discharge pipe, lift the test lever for five seconds, then let it go. The valve needs to snap back fully and stop water flow. These checks help prevent dangerous pressure buildup and spot failing valves early.
Install an expansion tank if needed
Water has nowhere to expand in closed-loop plumbing systems during heating. Your relief valve often opens without an expansion tank to handle this pressure. A small tank acts as a cushion for expanding water. This stops unnecessary valve activation and helps the valve last longer.
Monitor water pressure regularly
Building codes require home water pressure to stay under 80 PSI, though 50-60 PSI works best according to experts. High pressure ranks among the biggest problems that make water heaters leak too soon. You should check your home’s levels with a pressure gage on an outdoor faucet twice yearly. Excessive pressure can damage your relief valve and plumbing system.
Conclusion
Your water heater’s relief valve needs quick attention when it leaks. Don’t brush it off as a small problem. This tiny part will keep dangerous pressure from building up and prevent your tank from failing catastrophically.
You’ll notice warning signs like water pools near the heater, constant drips, mineral deposits, or a valve that won’t budge. These problems need quick fixes. Regular maintenance will protect you from surprise breakdowns that can get pricey.
The troubleshooting steps above will help you figure out if thermal expansion, high pressure, or a bad valve causes the problem. Your safety comes first when you shut down the system, release pressure, and put in a new valve.
It’s nowhere near as hard to prevent problems than fix emergencies. You should flush your tank yearly to clear out sediment that makes your system work overtime. Check your valve twice a year, keep an eye on water pressure, and add an expansion tank. These steps will make your water heater last longer and work better.
Your water heater is a big investment that keeps your home comfortable and safe. A well-maintained relief valve protects both your heater and property from floods and damage. Don’t hesitate to call a professional if you have trouble with diagnosis or repairs.
Call Western Rooter now for a free estimate! Our skilled team offers round-the-clock emergency service and tackles water heater issues before they turn into bigger headaches.