The average U.S. household loses a staggering 10,000 gallons of water each year through leaks. A water heater leaking ranks among the most serious and costly plumbing emergencies you might face in your home.
Your water heater’s pressure relief valve often causes these leaks. The situation becomes more concerning as statistics show that 10% of homes waste over 90 gallons daily due to leaks. Water damage and sky-high utility bills can result quickly if you spot leaks anywhere on your water heater – top, bottom, or sides.
Every water heater will start leaking eventually. The timing depends on various factors. Most units serve faithfully for 6-13 years. Gas-powered models typically last 10-12 years before issues develop. Replacement might make more sense than repairs if your unit nears these age limits or needs frequent fixes.
The good news? You can fix many water heater leaks yourself. In this piece, you’ll learn everything about water heater leaks – from bottom leaks to root causes. You’ll discover simple steps to identify problems, make repairs, and stop future leaks from happening.
Step 1: Check If It’s Really a Leak
Don’t rush to call a plumber yet. Make sure what looks like a leaking water heater is actually a leak. Many homeowners mistake normal condensation or problems from nearby appliances as water heater issues.
Look for signs of condensation
You might see moisture around your water heater. The first thing to think over is condensation. It happens when warm air hits cold surfaces, especially in cold weather or humid spaces. Your tank often shows this when cold water comes in and creates temperature differences.
Here’s how to tell condensation from a real leak:
- Does water show up mainly during temperature changes?
- Is moisture spread evenly on the tank surface?
- Does water stop collecting when room temperature stays steady?
Condensation usually shows up as small water droplets spread evenly, not steady streams or puddles that you’d see with real leaks. The moisture also goes away once the tank temperature stays stable.
Check nearby appliances like HVAC or softeners
Other water-using appliances nearby can trick you when you’re trying to find out why your water heater is leaking. Your HVAC system, water softener, furnace, or washing machine might be the real culprit.
Start by checking the area around it. Watch for:
- Dripping furnace condensate lines
- Overflowing AC drain pans
- Loose water softener discharge hoses or connections
- Leaky plumbing connections nearby
Keep an eye on seasonal equipment. Summer-running air conditioners create condensation that pools near water heaters in the same utility space.
Take a good look at the ceiling and walls around your water heater. Water stains running down might mean plumbing issues above are making it look like your water heater is leaking from the top.
Wipe and wait method to confirm moisture source
You can use the “wipe and wait” method to find out what’s causing your water heater to leak:
- Turn off all water-using appliances nearby
- Dry the water heater tank and floor with towels
- Put clean, dry paper towels around suspicious spots
- Wait about 30 minutes
- Look at the paper towels for moisture
This test helps you find the real source of water heater leaks. Dry paper towels might mean it was just temporary condensation. Moisture showing up again in specific spots points to a real leak.
This test really helps if water pools at the base. It shows whether your water heater has a real bottom leak or just condensation.
Your water heater’s location matters too. Basement installations or poorly ventilated areas can create ongoing condensation that looks like leaks. Better air flow or a dehumidifier might fix what seems like leaking.
After you confirm a real leak, act fast to stop water damage and get ready for repairs, which we’ll cover next.
Step 2: Shut Down the System Safely
The moment you spot a leak, you need to act fast to prevent water damage to your home. Your first priority should be to safely shut down the water heater.
Turn off power to the water heater
Safety comes first – always cut off the power supply because water and electricity make a dangerous mix.
For electric water heaters:
- Look for your home’s circuit breaker panel (you’ll usually find it in the garage or on an outside wall).
- Look for the “Water Heater” breaker and flip it to OFF.
- If you can’t tell which breaker it is, cut the main power until you figure it out.
For gas water heaters:
- The thermostat sits near the bottom of your tank.
- Turn its dial clockwise until it hits “OFF” or “PILOT”.
- You might also need to shut off the gas supply valve near your heater.
Cutting power first keeps you safe and prevents “dry firing” – a situation where heating elements try to heat an empty tank and end up damaging the system.
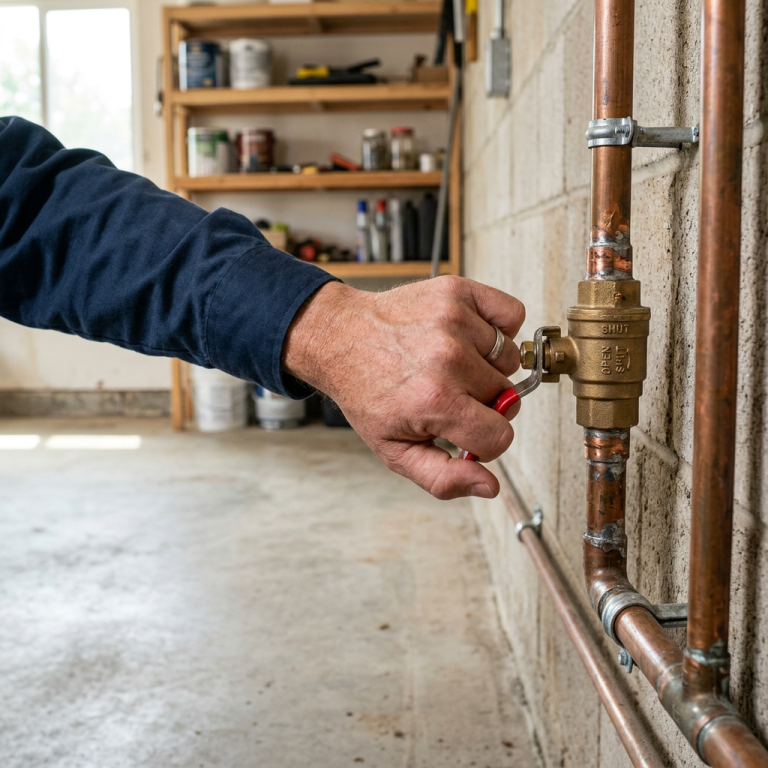
Shut off cold water supply and main valve
Your next step is to stop water from flowing into the tank to control the leak.
- The cold water supply valve sits on top of your water heater – usually on the right side as you face it.
- Give it a clockwise turn until it stops. Professional installers often mark this with a green tag.
If you can’t find this valve or it’s not doing the job:
- Search for your home’s main water supply valve.
- You’ll typically find it where water enters your house, usually in the basement, crawl space, or by the water meter.
- Turn it clockwise until it closes to cut water to the whole house.
After this, turn on a hot water faucet somewhere in your house to release pressure from the system. This step helps reduce tank pressure and can slow down the leak.
Drain the tank if needed
You might need to drain the tank based on how bad the leak is and where it’s coming from.
When to drain:
- The leak continues after shutting off the water
- You need to fix something inside
- The tank needs replacement
- You’re worried about water damage
Draining procedure:
- After cutting power, wait about two hours so the water can cool.
- Connect a garden hose to the drain valve at your water heater’s bottom.
- Put the hose’s other end in a floor drain or outside where hot water won’t cause problems.
- Open the drain valve by turning it counterclockwise – it looks like an outdoor faucet.
- To drain faster, open the temperature and pressure (T&P) relief valve on the tank’s side.
Most leaks should slow down by a lot or stop once you’ve closed the incoming water valve. In spite of that, draining gives you extra protection against water damage, especially if your water heater sits in a vulnerable spot.
By doing this shutdown process quickly after you find a leak, you can avoid getting pricey water damage and get ready to find exactly where the leak is coming from.
Step 3: Identify Where the Leak Is Coming From
Finding the exact source of water heater leaks helps you decide if you need a simple repair or a complete replacement. Let’s get into the common spots where leaks happen and what causes them.
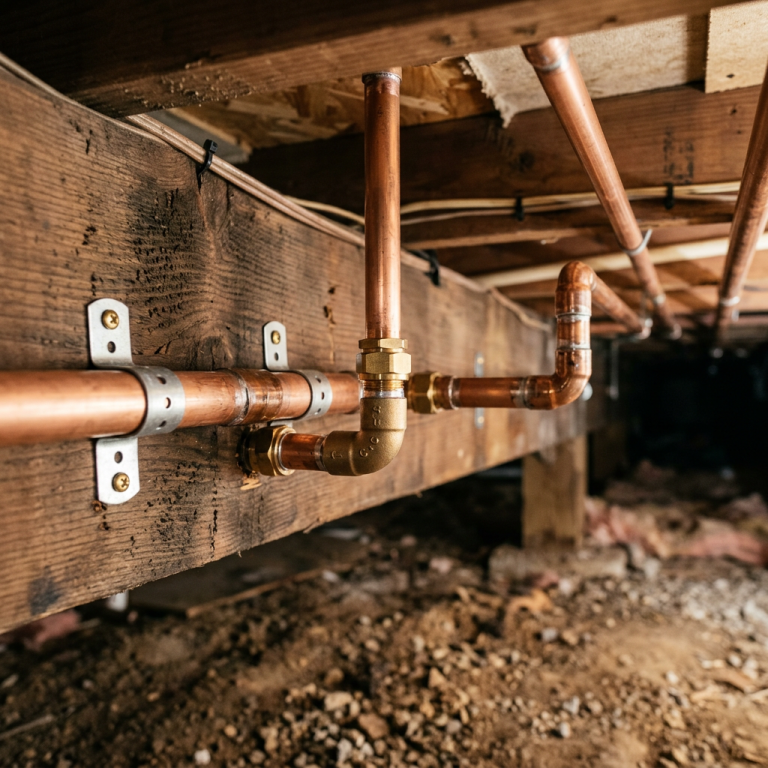
Water heater leaking from top: inlet/outlet pipes
Your water heater’s top might drip water because of issues with the cold water inlet or hot water outlet connections. These pipes can develop leaks since they expand and contract during regular use.
Check for:
- Loose pipe connections at the tank’s top
- Corrosion around fittings
- Water dripping from inlet/outlet points
The fix is usually simple – just tighten the connections with a pipe wrench. Turn clockwise until firm, but don’t overtighten as this could damage the pipes.
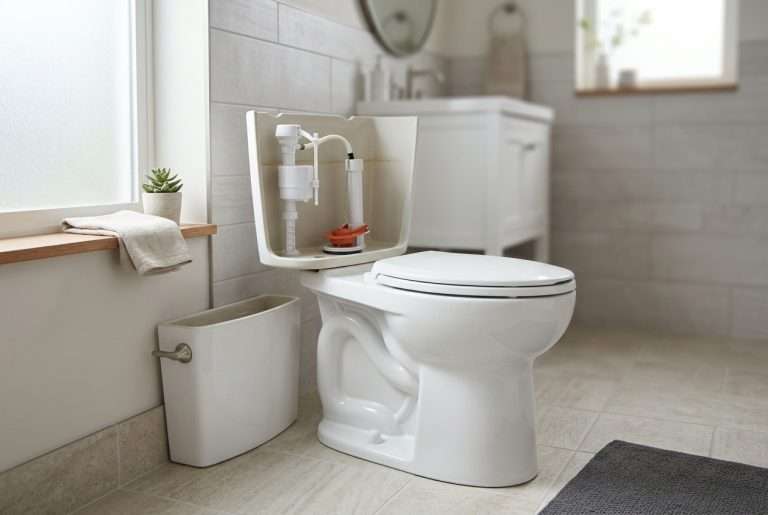
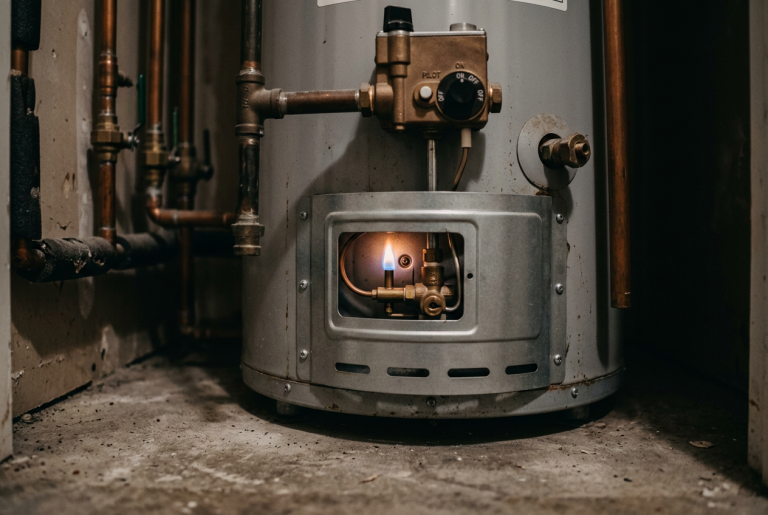
Leaks from the side: T&P valve or heating element
The temperature and pressure relief valve (T&P valve) causes most side leaks. This safety device keeps you safe by releasing water when pressure or temperature gets too high.
A leaking T&P valve might mean your water heater temperature exceeds the safe 120°F mark. High temperatures can force the valve to release water.
Electric water heaters might leak from their side panels due to heating element problems. Water can escape through element gaskets or loose components.
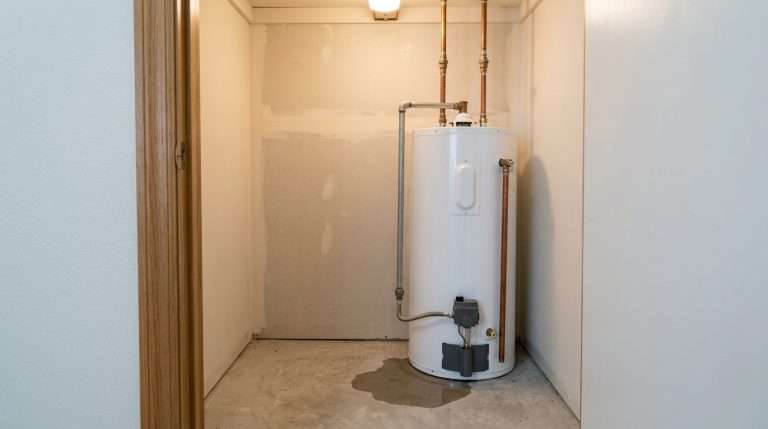
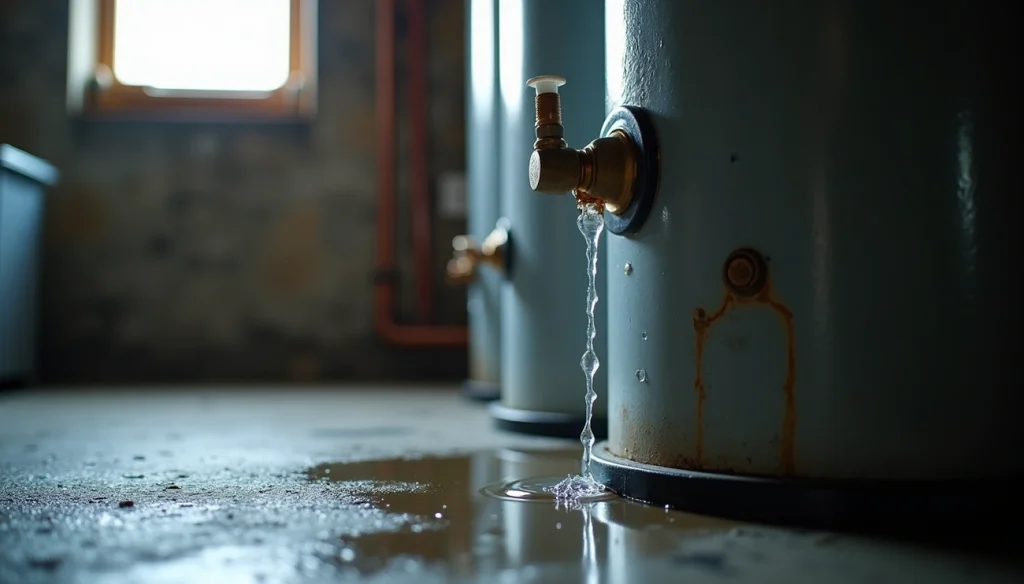
Why is my water heater leaking from the bottom?
Bottom leaks worry homeowners the most. The good news is that not every bottom leak means your tank has failed.
Check drain valve and tank base
Drain valves cause most bottom leaks. This part lets you empty the tank to clean it and flush out sediment. Drain valves can:
- Loosen from regular use
- Develop corrosion
- Suffer seal damage
- Get clogged with debris
Take a close look at the valve. If it looks good, try gently tightening it with a wrench—but don’t force it or you might make things worse.
Inspect for internal tank damage
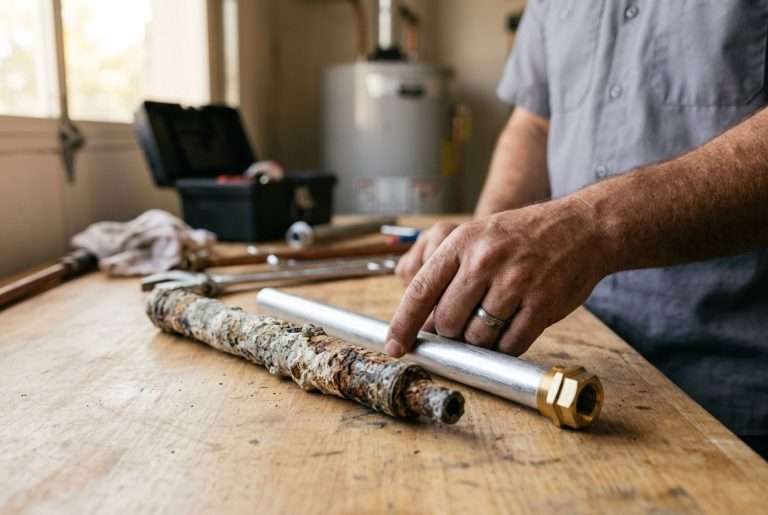
Some bottom leaks point to serious internal problems. Sediment builds up at the tank’s bottom over time and can corrode the inner lining.
Watch for these signs of internal damage:
- Water pools directly under the tank (not near fittings)
- Rust stains at the base
- Leaks continue after checking all valves
- Tank is over 10 years old
Internal tank leaks usually mean you need a new unit since repairs aren’t budget-friendly. Small leaks tend to get worse as the tank deteriorates.
Los Angeles and San Bernardino County residents can try the “paper towel test” to get a full picture of where leaks originate. Just run a dry paper towel around suspicious spots to check for moisture.
Step 4: Fix or Replace the Faulty Component
You’ve found where your water heater is leaking, and now it’s time to fix it. The good news is that you can fix many common water heater problems without getting a new unit.
Tighten loose fittings and valves
Leaks from top connections show that fittings are loose and need a fix. Start by checking inlet and outlet connections to see if they’re damaged or corroded. Here’s how to fix loose pipe fittings:
- Use a pipe wrench to carefully tighten the connection
- Don’t overtighten or you might break the valve
- Apply Teflon tape to threaded connections to seal better
Leaks usually stop right away once you secure the connections properly. In fact, this simple adjustment fixes most top leaks.
Replace faulty T&P valve or anode rod
The temperature and pressure relief valve keeps your water heater safe. A leaking T&P valve needs quick attention. Here’s how to replace it:
- Drain water below the valve level
- Unscrew the old valve counterclockwise
- Apply Teflon tape to the new valve’s threads (counterclockwise)
- Install and tighten the new valve
Your water heater’s life can double if you replace the anode rod every 3-5 years. Check the rod often – it needs replacement if you see more than 6 inches of core wire or if it’s thinner than 1/2 inch.
Cap or replace leaking drain valve
Drain valve leaks happen because of sediment buildup or worn seals that won’t close properly. The best fix is to replace it with a durable brass full-port valve. You can try temporary fixes like tightening the valve or using plumber’s tape around threads.
A cracked tank means you need a replacement
A leaking tank usually means you need a new water heater unless the leak comes from a part you can fix. Here’s what tells you to replace rather than repair:
- Water heater is over 10 years old
- Visible corrosion on the tank
- Rusty water with metallic odor
- Cracking or popping sounds that show sediment buildup
Need help? Our professionals in Los Angeles and San Bernardino Counties offer free estimates for water heater repair or replacement!
Step 5: Prevent Future Leaks with Regular Maintenance
A well-maintained water heater will prevent unexpected leaks and last longer. Regular checks help you spot problems early and save money down the road.
Flush the tank to remove sediment
Your tank’s bottom collects minerals from incoming water over time, which leads to corrosion and makes it less efficient. So, you should flush your water heater once a year to remove this buildup. Homes with hard water might need more frequent flushing. The proper way to flush involves turning off the power, connecting a garden hose to the drain valve, and letting water flow until it runs clear.
Test the pressure relief valve
The Temperature and Pressure Relief (TPR) valve serves as your water heater’s most important safety feature. You should test this valve every 6-12 months. Here’s how:
- Put a bucket under the valve to catch water
- Lift the testing lever and release pressure for a few seconds
- Lower the lever and check if water stops flowing
You need to replace the valve right away if no water comes out during testing.
Set thermostat to 120°F
Setting your water heater to 120°F helps slow down mineral buildup and corrosion. On top of that, this ideal temperature can save you $36-$61 each year in standby heat losses.
Inspect anode rod annually
Your tank’s anode rod draws in corrosive elements and sacrifices itself for protection. You should check this “sacrificial rod” once a year. The rod needs replacement when it’s more than 50% corroded or gets thinner than ½ inch. A well-maintained anode rod can help your water heater last twice as long.
Give Western Rooter a call today to get your free estimate on professional water heater maintenance!
Conclusion
Water heater leaks need immediate attention to prevent water damage that can get pricey and increase utility bills. In this piece, you’ve learned to separate actual leaks from condensation, shut down your system safely, find leak sources, and make proper repairs. Your water heater’s leak location – top, bottom, or sides – helps you decide between a simple fix or full replacement.
Your best defense against surprise leaks is regular maintenance. Annual tank flushing removes sediment that causes corrosion. Testing the pressure relief valve every 6-12 months will give a properly working safety component. On top of that, setting your thermostat to 120°F saves money and extends your unit’s life by reducing mineral buildup and wear.
Note that all water heaters develop leaks as they age. When your unit nears the 10-year mark or shows signs of internal tank damage like rusty water or constant leaking, replacement makes more financial sense than ongoing repairs. The upside? You can fix many common water heater problems yourself if you catch them early.
Leaky water heaters might look daunting initially, but this knowledge helps you evaluate the situation and act appropriately. When problems go beyond DIY fixes or you need expert help with maintenance, replacement, or emergency leaks, professional assistance is just a phone call away. Contact Western Rooter today to get a free estimate on professional water heater services in Los Angeles and San Bernardino Counties!
Key Takeaways
Water heater leaks are inevitable but manageable with the right knowledge and quick action. Here are the essential steps every homeowner should know:
• Safety first: Always turn off power and water supply before investigating any leak to prevent electrical hazards and further water damage.
• Identify the source: Use the “wipe and wait” method to confirm real leaks versus condensation – many apparent leaks are just moisture from nearby appliances.
• Location matters: Top leaks usually mean loose fittings (easy fix), side leaks indicate T&P valve issues, while bottom leaks may signal tank replacement needs.
• Prevention is key: Annual tank flushing, testing the pressure relief valve every 6-12 months, and maintaining 120°F temperature can double your water heater’s lifespan.
• Know when to replace: If your unit exceeds 10 years, shows internal tank damage, or requires frequent repairs, replacement is more cost-effective than continued fixes.
Most water heater leaks can be resolved with basic tools and knowledge, but recognizing when professional help is needed can save you from costly water damage and ensure your family’s safety.