Having an under-sink water filter is a great way to ensure clean and safe drinking water for your family. It improves the taste and quality of your water by removing contaminants right at the source. The best part? Installing an under-sink water filter is easier than you might think.
With just a few basic tools and a bit of time, you can have fresh, filtered water flowing straight from your tap. In this guide, we’ll walk you through the simple steps to get your new water filter up and running.
Tools and Supplies Needed
Before you start, gather all the tools and supplies you’ll need. Here’s a simple list:
- Water filter kit: Make sure it includes the filter and cartridges.
- Adjustable wrench: Useful for loosening and tightening nuts.
- Teflon tape: Ensures a tight seal on threaded connections.
- Drill: For making any necessary holes.
- Bucket: To catch any water that might spill during installation.
- Screwdriver: For securing brackets and other parts.
- Scissors or cutters: To trim tubing as needed.
Having these tools ready will make the installation process smooth and straightforward.
Step-by-Step Installation Guide
1. Turn Off the Water Supply
First, locate the cold water valve under your sink and turn it clockwise to shut off the water supply. This prevents any leaks while you work.
2. Disconnect the Cold Water Line
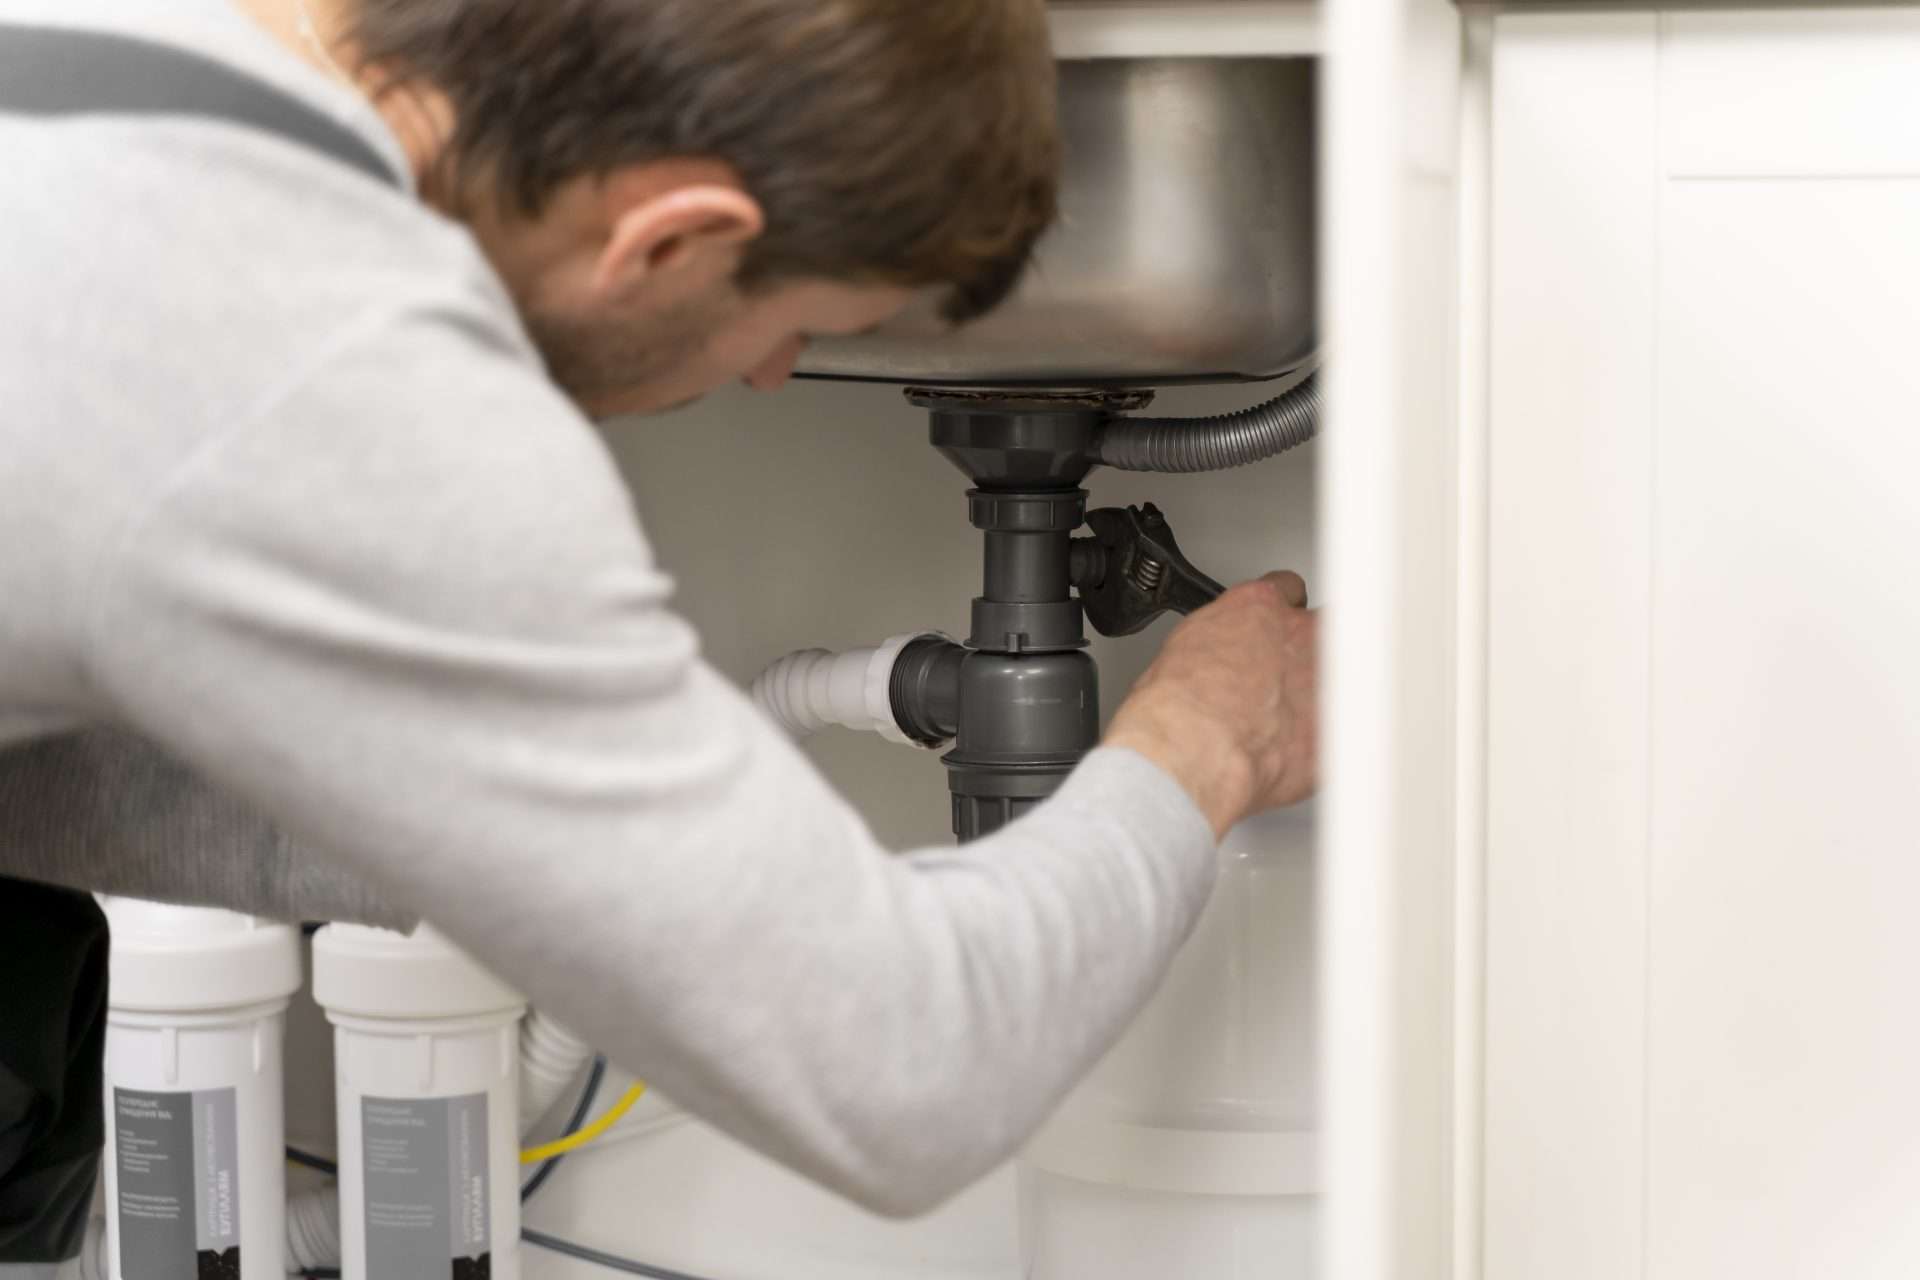
Use an adjustable wrench to loosen the nuts on the cold water tubing. Once loose, carefully remove the tubing from the faucet. Have a bucket ready to catch any residual water.
3. Install the T-Adapter
Wrap Teflon tape around the threads of the T-adapter. Screw the T-adapter onto the cold water line and tighten it with your wrench. Ensure it’s snug but don’t overtighten.
4. Connect the Filter Tubing
Attach the filter’s tubing to the T-adapter and the shut-off valve. Make sure the connections are tight but not overly tightened to ensure proper water flow.
5. Install the Faucet (if applicable)
If your filter comes with a faucet, drill a hole in your countertop or use an existing hole. Secure the faucet in place with the provided hardware and connect the filter tubing to the faucet base.
6. Mount the Filter Unit
Mount the filter unit to the cabinet wall using the provided bracket and screws. Ensure it’s easily accessible for future filter changes and securely fastened.
7. Connect to Plumbing
Now, let’s connect the filter unit to your plumbing system. Start by identifying the inflow and outflow ports on the filter. Attach the faucet’s tubing to the outflow port and the cold water feed line to the inflow port. Make sure all connections are secure to prevent leaks.
8. Turn the Water Back On
Slowly turn the cold water valve back on to restore the water supply. Open the filter’s shut-off valve to let water flow into the unit. Check all connections for leaks and tighten if necessary. Take your time to ensure everything is leak-free.
9. Flush the Filter
Finally, flush the filter to remove any debris and activate the filter media. Run water through the filter for a few minutes, collecting it in a bucket. This step is crucial to ensure your water is clean and safe to drink from the start.
Tips for a Smooth Installation:
- Read the Manual: Always start by reading the installation manual that comes with your filter. It provides specific instructions and tips.
- Double-Check Connections: Ensure all connections are tight but not overtightened. This helps prevent leaks and damage to fittings.
- Use Teflon Tape: Apply Teflon tape to threaded connections to ensure a tight seal and prevent leaks.
- Have a Bucket Handy: Keep a bucket under the sink to catch any water that might spill during installation.
- Label the Tubing: Labeling the inflow and outflow tubes can save you time and confusion later.
Troubleshooting Common Issues:
- Leaks: If you notice leaks, turn off the water supply and check all connections. Tighten any loose fittings and ensure the Teflon tape is properly applied.
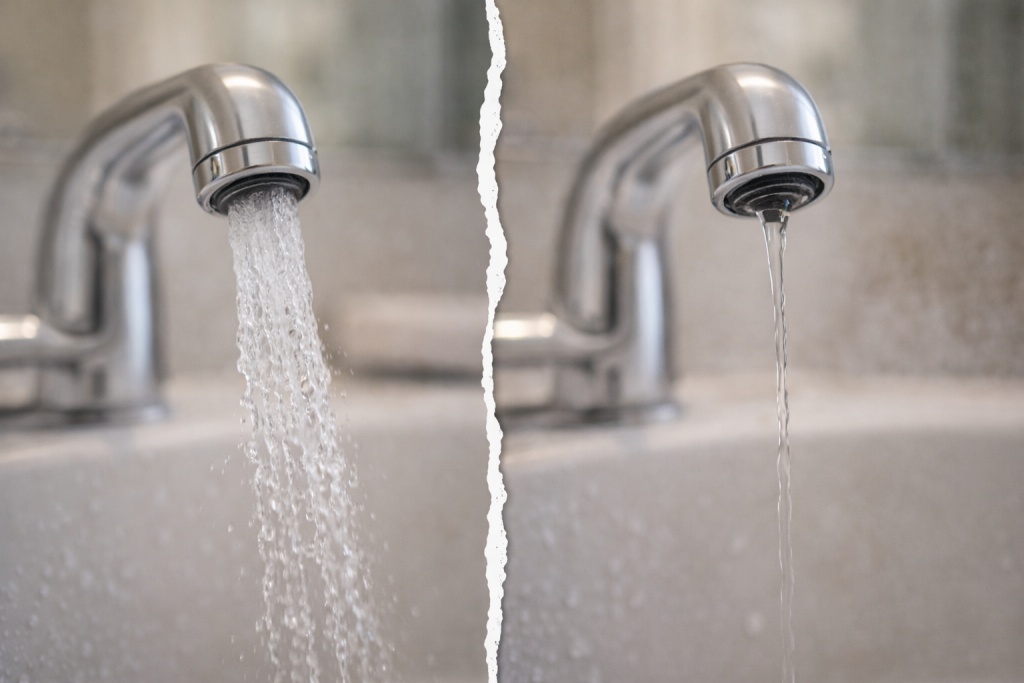
- Low Water Pressure: This might indicate a clogged filter. Check the filter and replace it if necessary.
- Strange Taste or Odor: If your water tastes or smells off, flush the filter again. Sometimes debris from installation can affect water quality.
- No Water Flow: Ensure that the shut-off valve on the filter unit is open. Check for kinks or blockages in the tubing.
Conclusion
Installing an under-sink water filter is a simple and effective way to ensure your family enjoys clean, safe drinking water. With just a few basic tools and steps, you can improve your water’s taste and quality while protecting your health. The installation process is straightforward, and the benefits are immediate.
If you need help or prefer a professional touch, don’t hesitate to contact our expert team at Western Rooter. We’re here to make sure you get the best water filtration system for your home. Enjoy the peace of mind that comes with fresh, filtered water right from your tap!
Frequently Asked Questions
What is the best water filter for removing chlorine?
Activated carbon filters are best for removing chlorine, improving both taste and smell.
How often should I replace my water filter?
Typically, you should replace your water filter every 3 to 6 months, depending on usage and the manufacturer’s guidelines.
Can I install a water filter system myself?
Yes, many water filter systems are designed for easy DIY installation with basic tools.
Do I need a water softener if I have a filter?
If you have hard water, a water softener can help reduce mineral buildup even if you already have a filter.

